2. Built-in Button
Keyboards or buttons are important tools for human-computer interaction. We often use keyboards to enter text, type commands, control devices, etc. Two programmable buttons A and B are integrated on the micro:bit to easily control the micro:bit to make actions.
2.1. Project Button A and B
This project uses micro:bit integrated buttons A and B. When different buttons are pressed, micro:bit displays different patterns.
2.1.1. Circuit
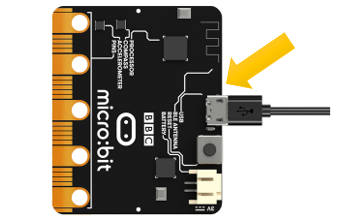
Connect micro:bit and PC via micro USB cable.
Hardware connection
2.1.2. Block code
Open MakeCode first.
Import the .hex file. The path is as below:
File type |
Path |
File name |
HEX file |
../Projects/BlockCode/02.1_BuiltInButton |
BuiltInButton.hex |
After loading successfully, the code is shown as below:
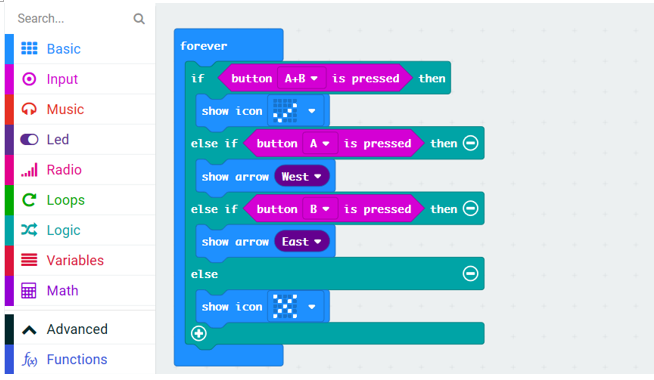
Download the code into micro:bit. When button A is pressed, the micro:bit LED matrix will display an arrow pointing to button A. When button B is pressed, the micro:bit LED matrix will display an arrow pointing to button B. When the buttons A and B are pressed at the same time, the micro:bit LED matrix will display a check mark. When no button is pressed, the micro:bit LED matrix displays a cross.
2.1.2.1. Reference
Block |
Function |
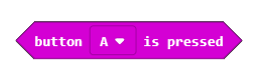
|
Check whether a button is pressed at the moment. The micro:bit has two buttons: button A and button B. |
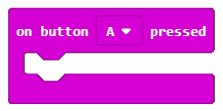
|
This handler works when button A or B is pressed, or A and B together. |
2.1.3. Python code
Open the .py file with Mu. Code, the path is as below:
File type |
Path |
File name |
Python file |
../Projects/PythonCode/02.1_BuiltInButton |
BuiltInButton |
After loading successfully, the code is shown as below:
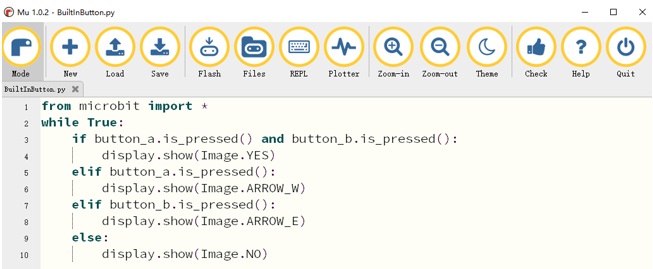
Download the code into micro:bit. When button A is pressed, the micro:bit LED matrix will display an arrow pointing to button A. When button B is pressed, the micro:bit LED matrix will display a an arrow pointing to button B.When the buttons A and B are pressed at the same time, the micro:bit LED matrix will display a check mark. When no button is pressed, the micro:bit LED matrix displays a cross.
The following is the program code:
 1from microbit import *
 2while True:
 3    if button_a.is_pressed() and button_b.is_pressed():
 4        display.show(Image.YES)
 5    elif button_a.is_pressed():
 6        display.show(Image.ARROW_W)
 7    elif button_b.is_pressed():
 8        display.show(Image.ARROW_E)
 9    else:
10        display.show(Image.NO)
Use the if-elif-else statement to determine when the button is pressed. First, when the buttons A and B are pressed at the same time, a check mark is displayed.
1if button_a.is_pressed() and button_b.is_pressed():
2    display.show(Image.YES)
Then, determine in turn if the buttons A or B is pressed seperately, and the case where no button is pressed.
1elif button_a.is_pressed():
2    display.show(Image.ARROW_W)
3elif button_b.is_pressed():
4    display.show(Image.ARROW_E)
5else:
6    display.show(Image.NO)
Note that it is necessary to first determine if buttons A and B are pressed at the same time. If-elif-else statement will make the micro:bit execute only one situation. If the state with two buttoon pressed is placed in last, the result of pressing A or B will appear first, then the statement will end, and then sentence met the state with two button pressed will never be executed.
2.1.3.1. Reference
- is_pressed()
Returns True if the specified button is currently being pressed, and False otherwise.
For more information, please refer to https://microbit-micropython.readthedocs.io/en/latest/button.html