2. Flashing OS to NVME SSD
2.1 Assembly and Wiring
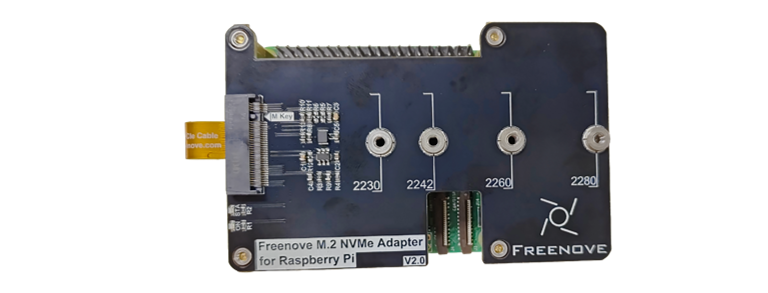
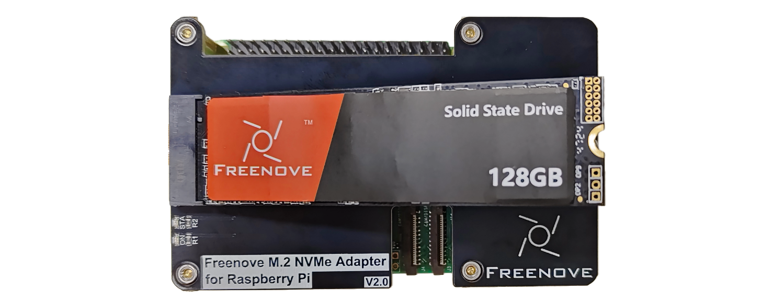
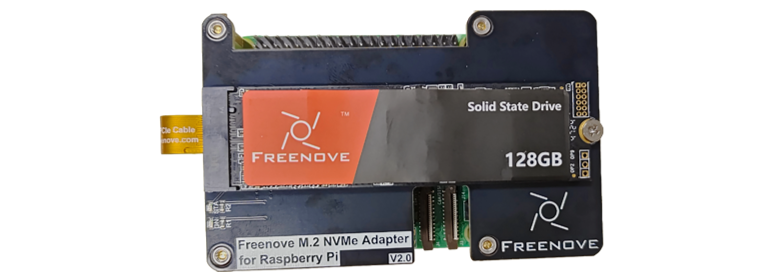
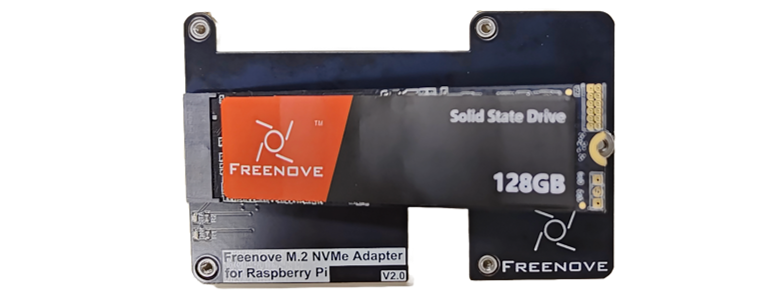
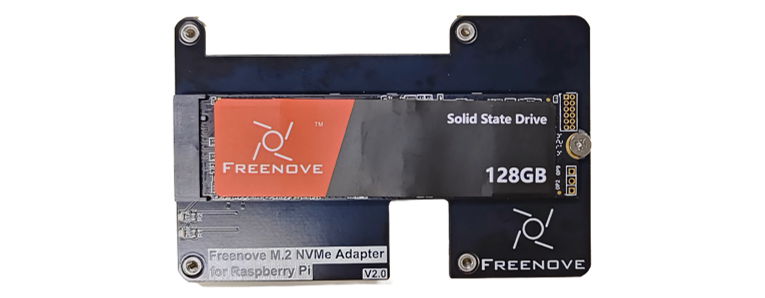
Assemble the Freenove M.2 Adapter for Raspberry Pi and NVME SSD to your Raspberry Pi.
Required Components
Raspberry Pi 5
|
Power Adapter.
|
||
Type-C USB Cable x1
|
Micro SD Card (TF Card) x1, Card Reader x1
|
||
Freenove M.2 Adapter for Raspberry Pi
|
NVME SSD
|
||
M2.5x3 Screws x5
|
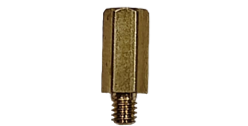
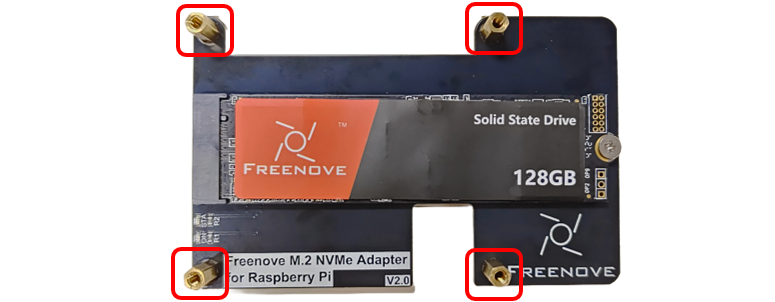
M2.5*8+3 single-pass brass standoffs x8
|
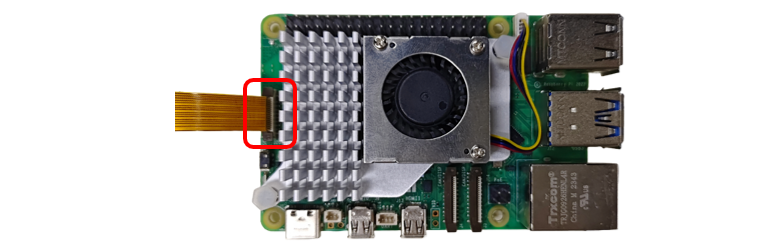
Cable
|
|
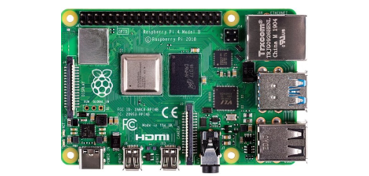


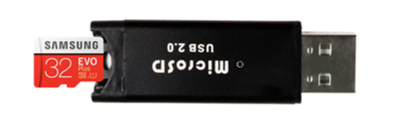
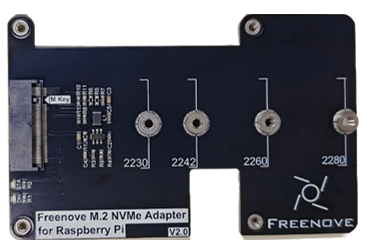
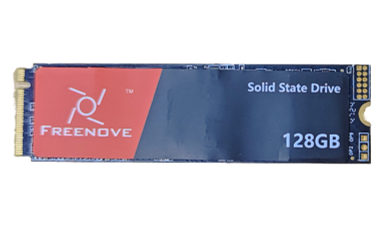


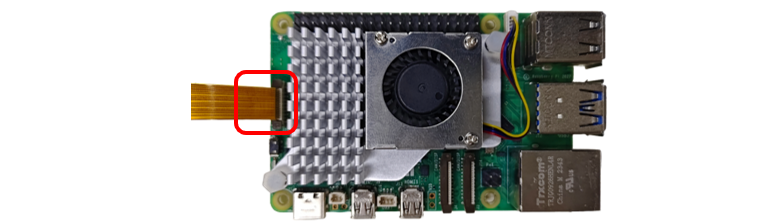
The Freenove M.2 NVMe Adapter for Raspberry Pi can be assembled either :ref`above <v2Assembling>` or below the Raspberry Pi 5. You can install it in the way you prefer.
Assembling above the Raspberry Pi 5
|
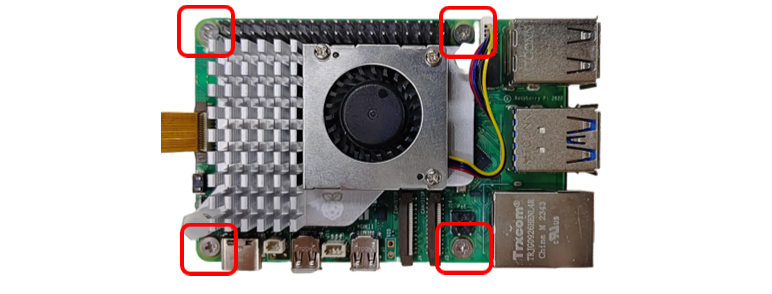
and install them onto each mounting holes on the rear side of the expansion board.
|
|
|
|
|
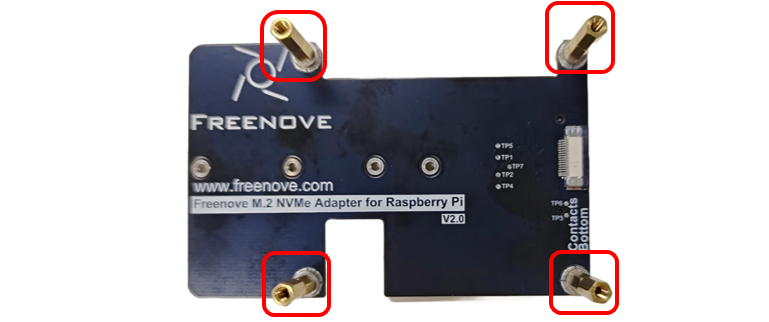
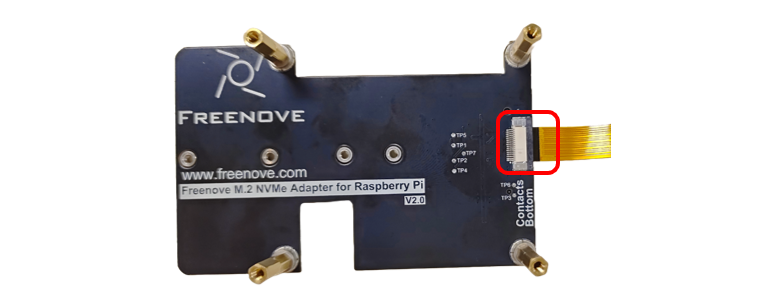
Assembling below the Raspberry Pi 5
|
|
|
|
|
|
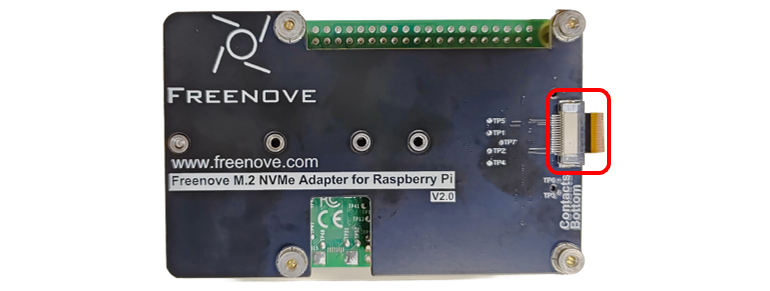
2.2 Flashing the RPi OS to NVME SSD
Once everything is set up, power on the Raspberry Pi and boot into the system. (In this case, we are using a brand new SSD with a 512GBits capacity that has not been partitioned yet.)
2.2.1 SSD Detection
(Note: Not all SSDs are supported by Pi5.)
Run the following command in the Terminal to check whether SSD is detected.
Note that different SSDs display different content.
lspci

lsblk
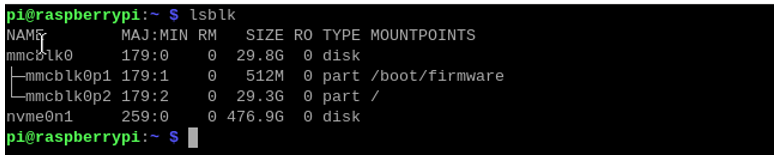
As shown in the figure above, the device ‘nvme0n1’ with a capacity of 476.9GBytes shows up, indicating that the SSD has been correctly recognized. The detected capacity will depend on the size of your SSD. If your drive has been previously partitioned, you may also see some partition information displayed.
Note
Installing the system will format the SSD, erasing all data. If necessary, please back up any data on your SSD before proceeding.
2.2.2 Enable PCIE3.0 (on OS written into SD card)
If the SSD you received is with Phison controller, you may need to enable PCIE 3.0. (This step is strongly recommended; without this step, the later process may fail.)
If it is not with Phison controller, you do not need to enable PCIE 3.0. You may skip this section.
Run the command lspci to check the controller.

(The above screenshot is the result of a 128GB SSD with Phison as main controller.)
Enable PCIe Gen3.0
Add the line dtparam=pciex1_gen=3 to /boot/firmware/config.txt to enable PCIe Gen3.0.
As shown below, enter the command to open the file.
sudo nano /boot/firmware/config.txt
Add the line dtparam=pciex1_gen=3 to the end of the file, as shown below:
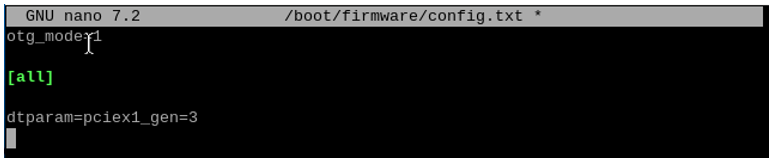
Press Ctrl-O to save the file, Enter to confirm, and Ctrl-X to exit.
Reboot your Raspberry Pi.
sudo reboot
2.2.3 SSD Partitioning and Formatting
This step is not a must-do, but it can further test whether the SSD perform normally on Raspberry Pi to ensure smooth performance in later steps.
At this point, the hard drive cannot be seen in the file manager, as the disk has not been partitioned yet.
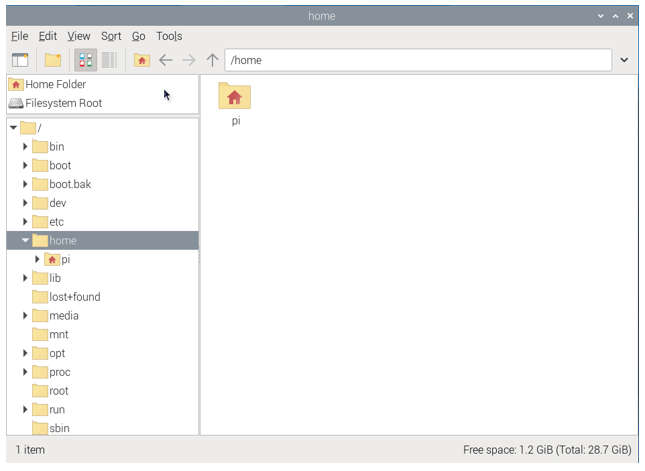
Install a disk management tool with the following command:
sudo apt-get install gparted
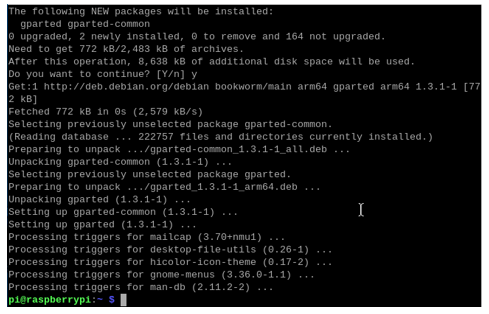
Open gparted with the command:
sudo gparted
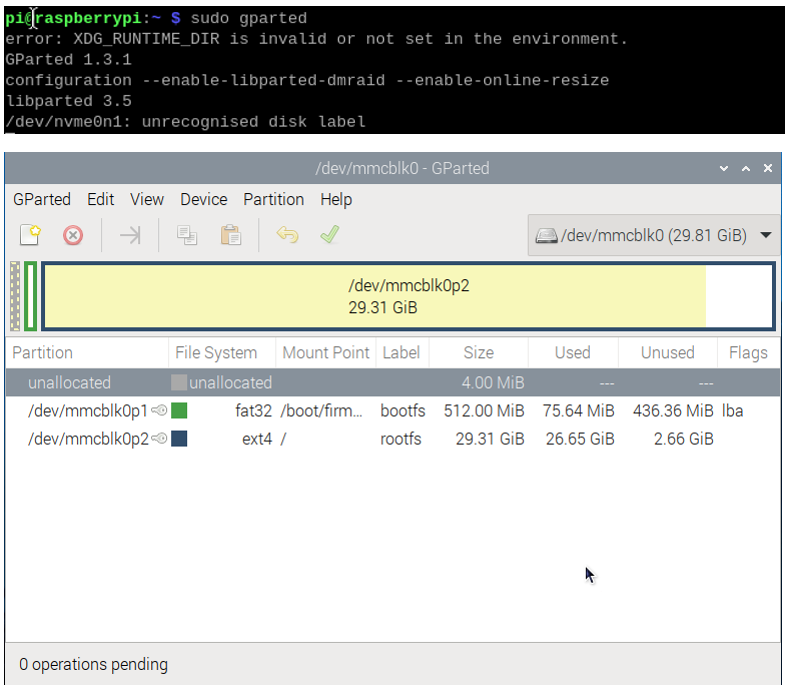
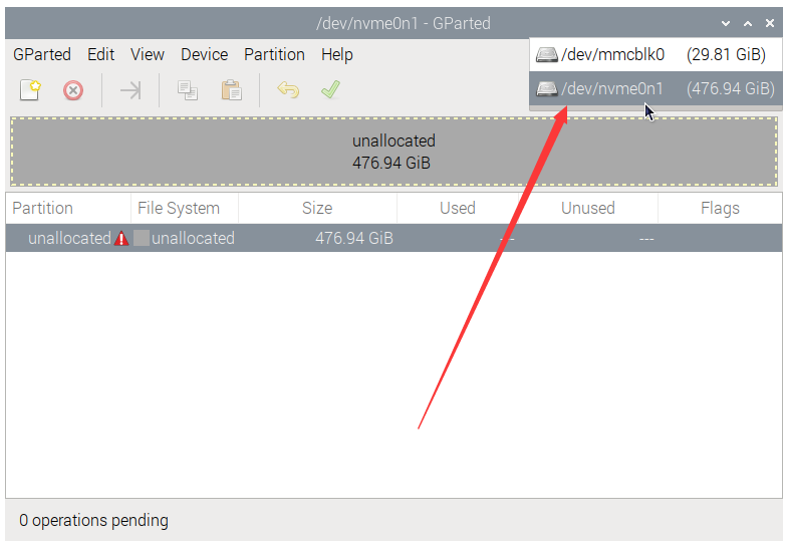
Click on the dropdown menu in the upper right corner and switch to NVME SSD.
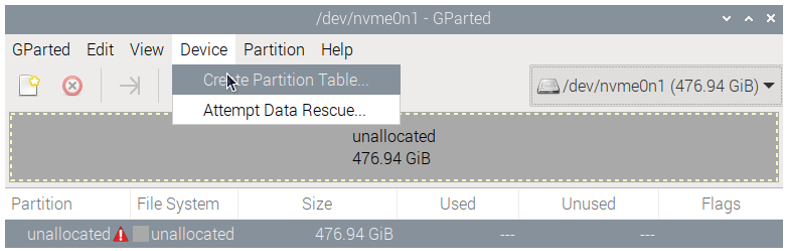
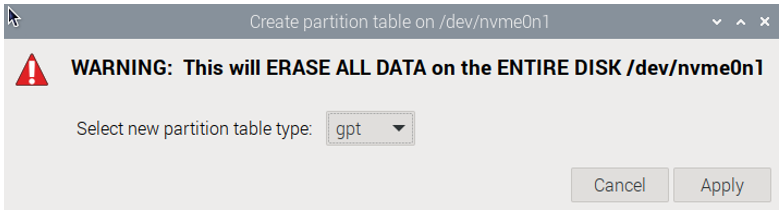
Click Device on the menu bar and select Create Partition Table.
You will see the prompt that data will be erased. It is recommended to select gpt for partition table type. Click Apply.
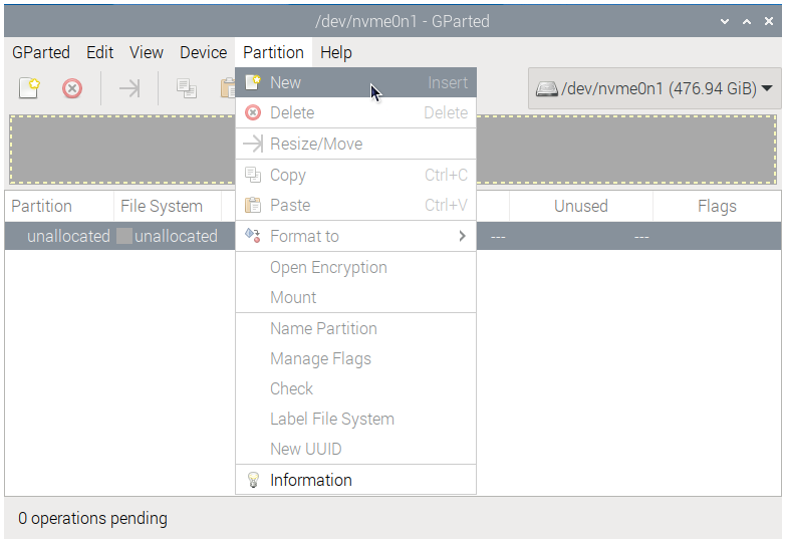
Click Partition on the menu bar, choose “New”.
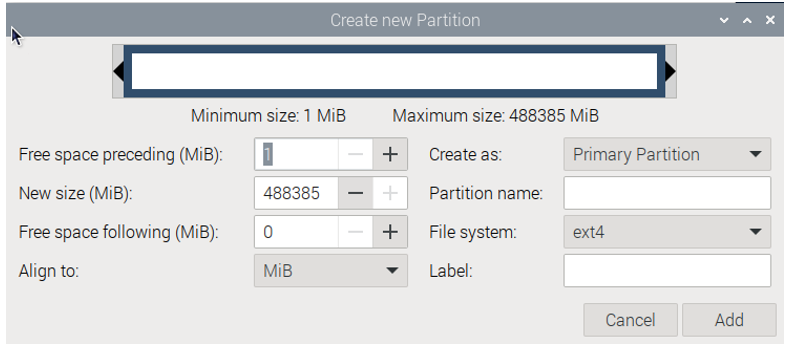
As shown in the figure below, the size of partition can be adjusted by dragging the mouse left and right, or by entering the size directly. The other options can be left as default setting. Here, we allocate all the capacity to a single partition. Click on Add.
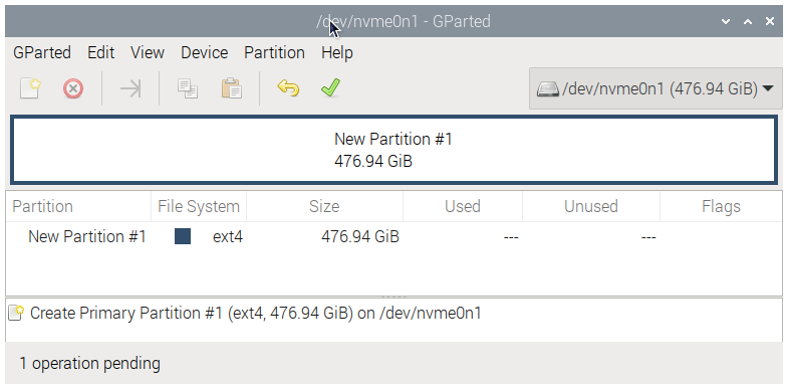
Click the check icon ✔ to save the partition just built, as illustrated below.
Click on Apply.
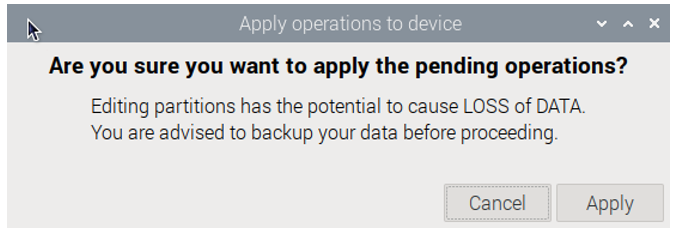
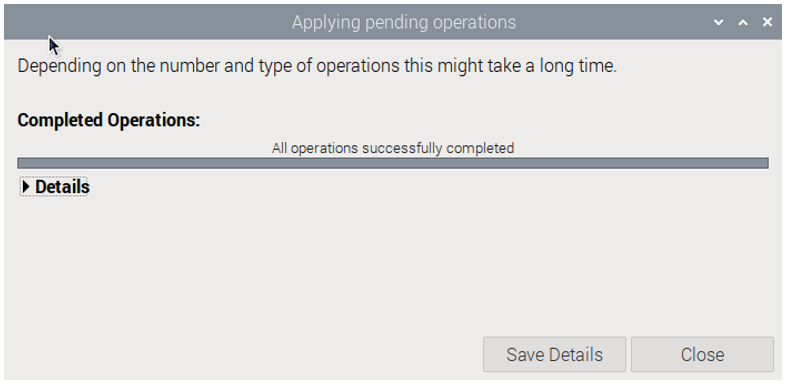
Wait for it to complete and click on Close.
At this point, you can mount the disk using the mount command and then access the disk space through the file manager. Use the following command to mount the SSD:
mkdir pi
sudo mount /dev/nvme0n1p1 /media/pi

Open the file manager, as shown below.
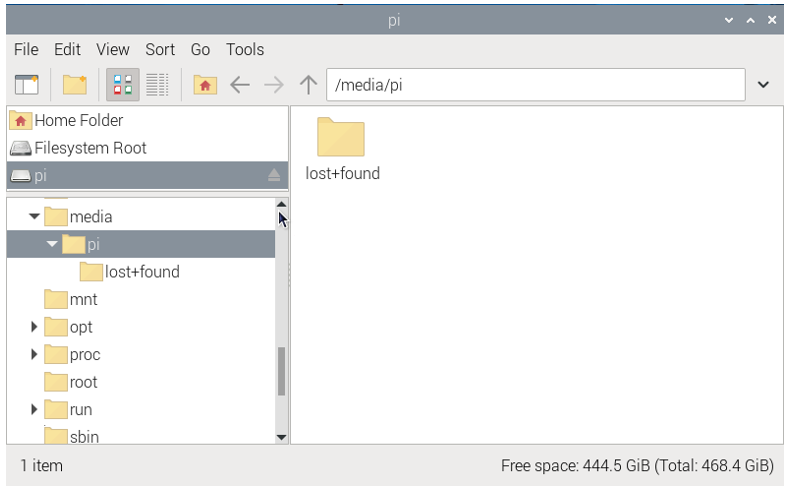
If you plan to use the SSD as a standard storage device, you can conclude the process here. However, if you want to further proceed with installing an operating system on the SSD, please read on.
2.2.4 Flashing the OS
Install the OS to SSD with the method similar to that in the previous section on installing a system onto an SD card. This time, operate on the Raspberry Pi.
Install rpi-imager with the following command:
sudo apt install rpi-imager

Open rpi-imager:
sudo rpi-imager
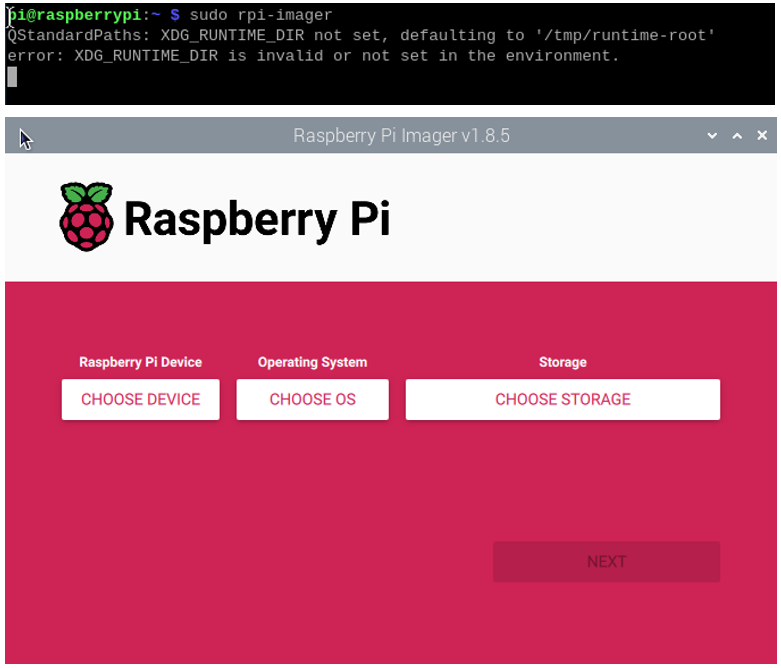
By this point, you should be quite familiar with the process.
Select the Raspberry Pi 5 as your device and choose either an online download or an offline file for the operating system; in this case, an offline file is selected. (It is recommended to use a 64-bit Raspberry Pi system with recommended software). Choose your NVME SSD as the storage device. Click NEXT.
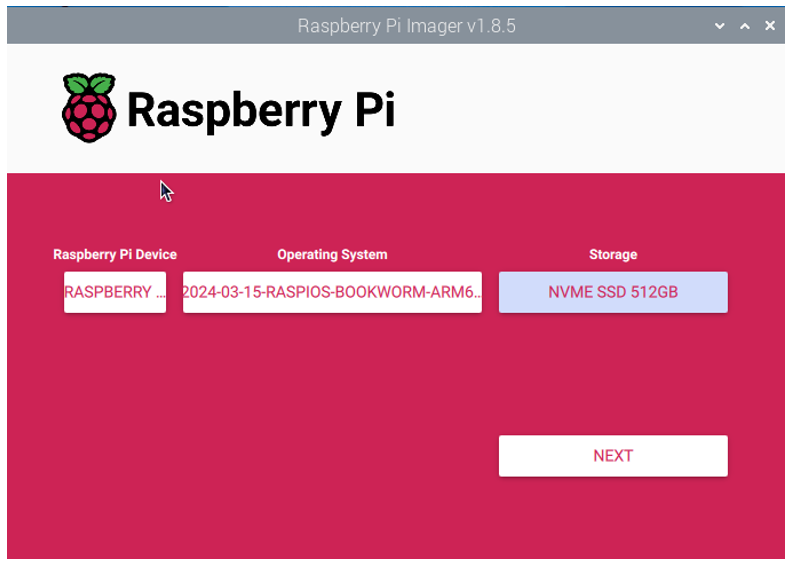
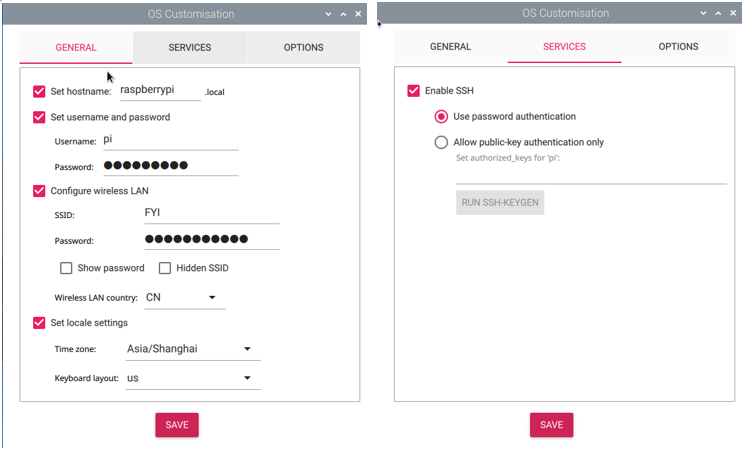
Click on EDIT SETTINGS.

Wireless LAN Country must be correctly set; otherwise, it may fail to search the WiFi.
Enable SSH and click Save.
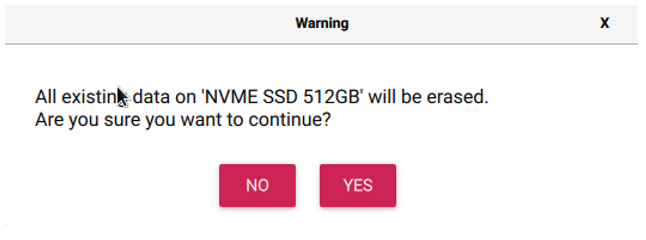
Click on YES.

Click on YES.
Wait for it to finish.
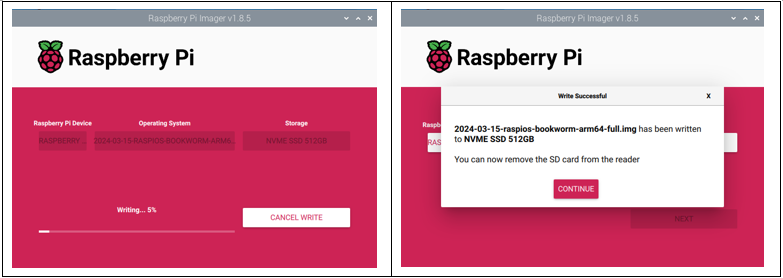
Congratulations! You have done the trickiest and the time-consuming part. Now that you have successfully installed the operating system onto the NVMe SSD, you are very close to achieving a triumph.
Next, boot into the system from SSD.
2.2.5 Enable PCIE3.0 (on system written into SSD)
If you have confirmed that SSD is with Phison controller in step 2, then you also need to enable PCIE3.0 on the system written into SSD.
If the controller of your SSD is not from Phison, you can skip this section.
The operation is as below:
Run the command lsblk to check the partitions of the SSD with Raspberry Pi OS written, as shown below:
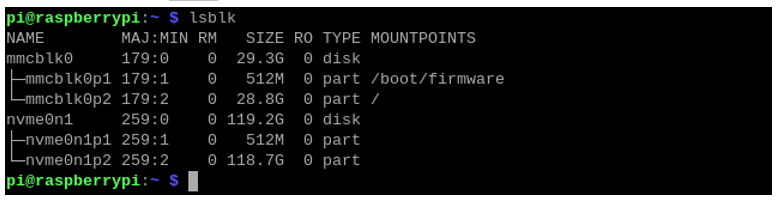
(The above screenshot is the result of a 128GB SSD with Phison as main controller.)
Run the following commands one by one to mount partition 1 of the SSD to the directory of /media/pi.
sudo mkdir /media/pi
sudo mount /dev/nvme0n1p1 /media/pi

If it mounts successfully, you’ll see the following disk icon on the desktop.

Open and modify the config.txt file with the following command.
sudo nano /media/pi/config.txt

Add the line dtparam=pciex1_gen=3 to the end of the file, as shown below:
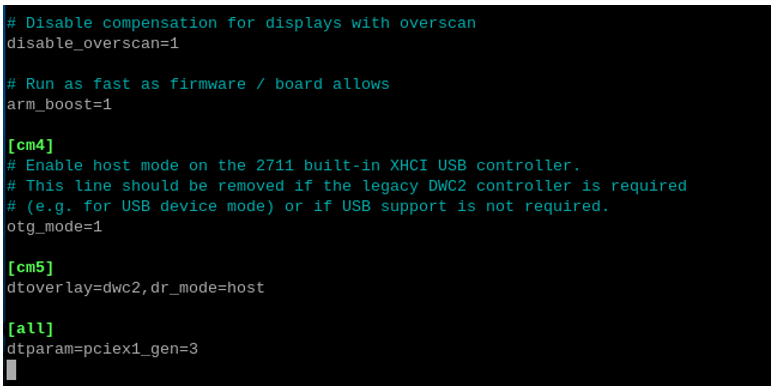
Press Ctrl-O to save the file, Enter to confirm, and Ctrl-X to exit.