2. Chapter Flowing Light
We have learned how to control one LED to blink. Next, we will learn how to control a number of LEDs
2.1. Project Flowing Water Light
In this project, we use a number of LEDs to make a flowing water light.
2.1.1. Component List
|
Jumper Wires |
Bar Graph LED x1 |
Resistor 220Ω x10 |


2.1.2. Component knowledge
Let us learn about the basic features of these components to use and understand them better.
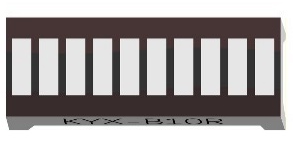
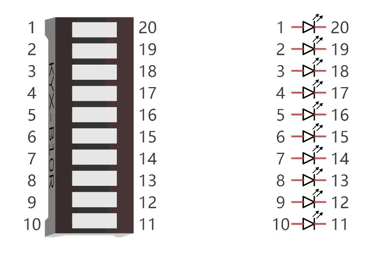
2.1.2.1. Bar Graph LED
A Bar Graph LED has 10 LEDs integrated into one compact component. The two rows of pins at its bottom are paired to identify each LED like the single LED used earlier.
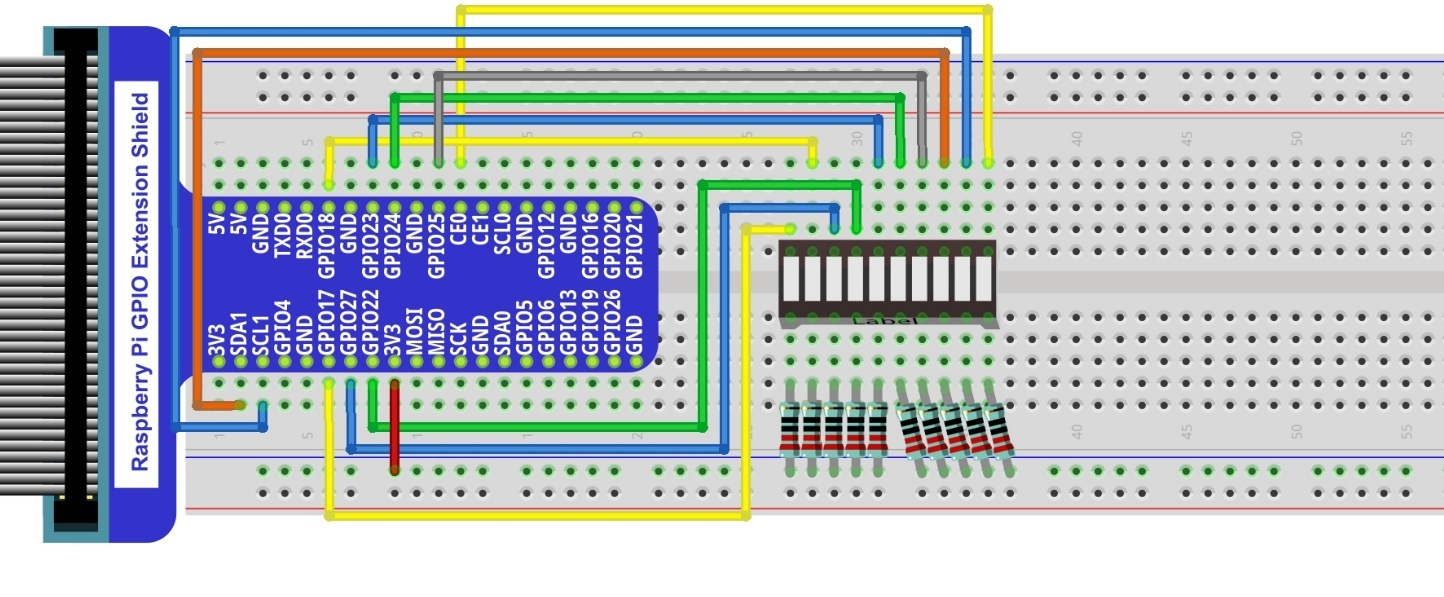
2.1.3. Circuit
A reference system of labels is used in the circuit diagram below. Pins with the same network label are connected together.
Schematic diagram

Hardware connection. If you need any support, please feel free to contact us via: support@freenove.com
Note
If LEDbar doesn’t work, rotate LEDbar 180° to try. The label is random.
In this circuit, the cathodes of the LEDs are connected to the GPIO, which is different from the previous circuit. The LEDs turn ON when the GPIO output is low level in the program.
Hint
If you have any concerns, please send an email to: support@freenove.com
2.1.4. Sketch
In this chapter, we will introduce how to control multiple LEDs with various GPIOs, and make the LEDs present a flowing effect.
2.1.4.1. Sketch_02_FlowingLight
First, enter where the project is located:
$ cd ~/Freenove_Kit/Pi4j/Sketches/Sketch_02_FlowingLight

Enter the command to run the code.
$ jbang FlowingLight.java

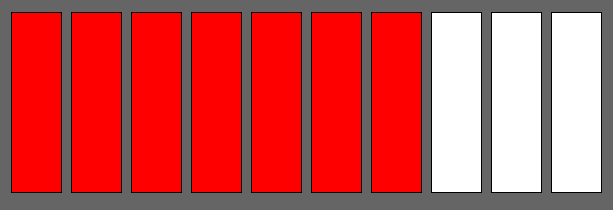
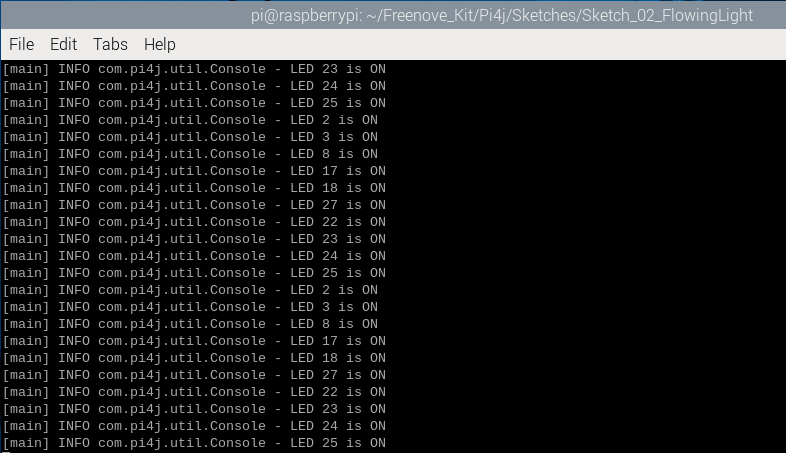
When the code is running, you can see the LedBar lights up in a flowing effect.
On the Raspberry Pi Terminal, you can see messages printed.
Press CTRL+C to exit the code.
You can view and edit the code with Geany by running the following command.
$ geany FlowingLight.java
Click the icon to run the code.
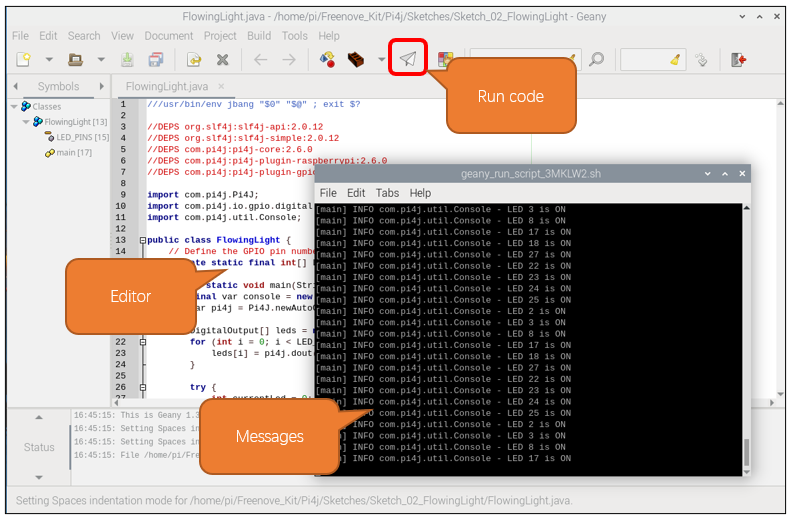
If the code fails to run, please check Geany Configuration.
The following is program code:
 1///usr/bin/env jbang "$0" "$@" ; exit $?
 2
 3//DEPS org.slf4j:slf4j-api:2.0.12
 4//DEPS org.slf4j:slf4j-simple:2.0.12
 5//DEPS com.pi4j:pi4j-core:2.6.0
 6//DEPS com.pi4j:pi4j-plugin-raspberrypi:2.6.0
 7//DEPS com.pi4j:pi4j-plugin-gpiod:2.6.0
 8
 9import com.pi4j.Pi4J;
10import com.pi4j.io.gpio.digital.DigitalOutput;
11import com.pi4j.util.Console;
12
13public class FlowingLight {
14    // Define the GPIO pin number for the LED.
15    private static final int[] LED_PINS = {17, 18, 27, 22, 23, 24, 25, 2, 3, 8};
16
17    public static void main(String[] args) throws Exception {
18        final var console = new Console();
19        var pi4j = Pi4J.newAutoContext();
20
21        DigitalOutput[] leds = new DigitalOutput[LED_PINS.length];
22        for (int i = 0; i < LED_PINS.length; i++) {
23            leds[i] = pi4j.dout().create(LED_PINS[i]);
24        }
25
26        try {
27            int currentLed = 0;
28            while (true) {
29                console.println("LED " + LED_PINS[currentLed] + " is ON");
30                for (DigitalOutput led : leds) {
31                    led.low();
32                }
33                leds[currentLed].high();
34                Thread.sleep(100);
35                currentLed = (currentLed + 1) % LED_PINS.length;
36            }
37        } finally {
38            pi4j.shutdown();
39        }
40    }
41}
Import the classes of Pi4J library for GPIO control and simple console output.
1import com.pi4j.Pi4J;
2import com.pi4j.io.gpio.digital.DigitalOutput;
3import com.pi4j.util.Console;
Define an array that includes the GPIO numbers connecting to LEDs.
1// Define the GPIO pin number for the LED.
2private static final int[] LED_PINS = {17, 18, 27, 22, 23, 24, 25, 2, 3, 8};
Create a DigitalOutput array based on the GPIO array that controls the LEDs, and create a DigitalOutput instance for each pin.
1DigitalOutput[] leds = new DigitalOutput[LED_PINS.length];
2for (int i = 0; i < LED_PINS.length; i++) {
3    leds[i] = pi4j.dout().create(LED_PINS[i]);
4}
Iterate through all LEDs and turn them off (set to low level).
1for (DigitalOutput led : leds) {
2    led.low();
3}
Use ‘currentLed’ to record the position of the LED that is lit, recalculate the position of the lit LED every 100 milliseconds, and print a prompt message to the console. At the same time, turn off all LEDs except the LED at the position recorded by ‘currentLed’.
 1int currentLed = 0;
 2while (true) {
 3    console.println("LED " + LED_PINS[currentLed] + " is ON");
 4    for (DigitalOutput led : leds) {
 5        led.low();
 6    }
 7    leds[currentLed].high();
 8    Thread.sleep(100);
 9    currentLed = (currentLed + 1) % LED_PINS.length;
10}