Chapter 16 LVGL Music
Project 16.1 LVGL Music
Component List
As of the time of writing, the Freenove Media Kit for ESP32-S3 comes in two different models with varying screen sizes. However, this tutorial applies to both versions.
Freenove Media Kit for ESP32-S3 x1
|
USB cable x1
|
|
Extension Board x1(1.14 inch/3.5 inch)
|
||
SD card x1
|
Card reader x1 (random color)
|
|
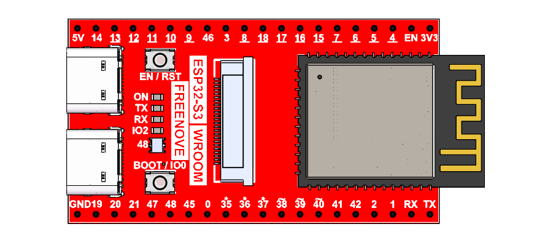
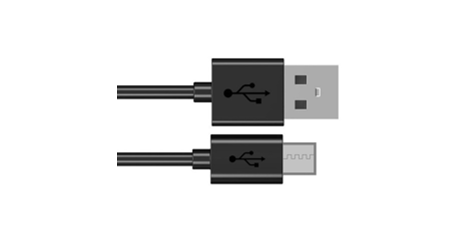
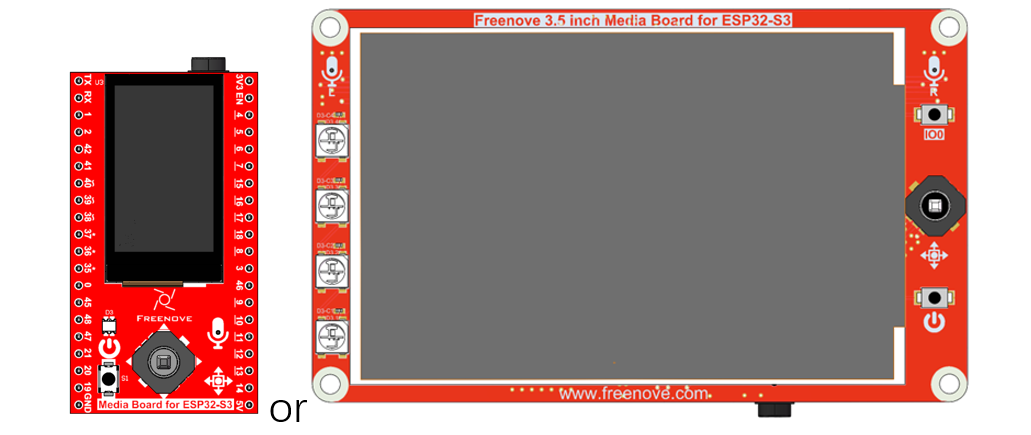

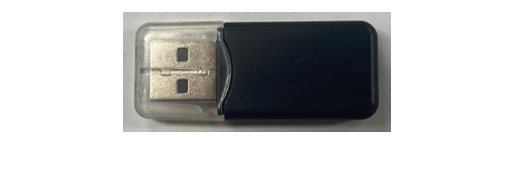
Circuit
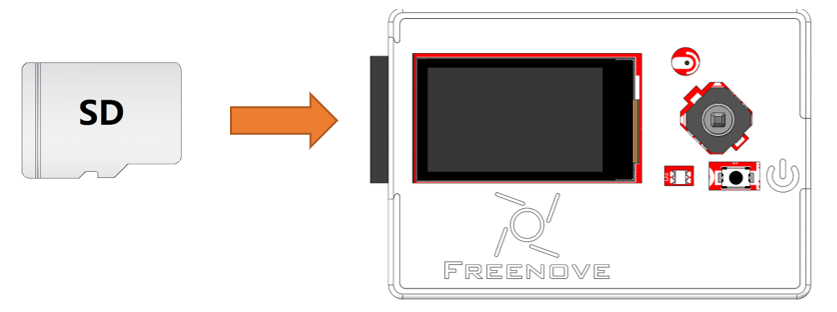
Before connecting the USB cable, insert the SD card into the SD card slot on the back of the ESP32-S3.
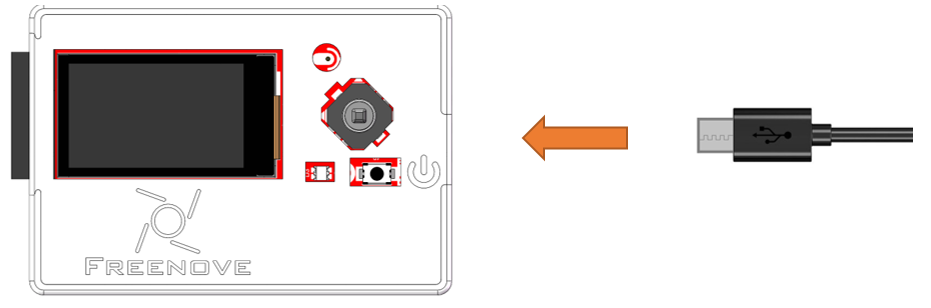
Connect Freenove ESP32-S3 to the computer using the USB cable.
Sketch
Sketch_16_LVGL_Music
The following is the program code:
 1/**
 2 * Sketch_15_Lvgl_Music.ino
 3 * This sketch demonstrates the use of the LVGL library to create a graphical user interface (GUI) for music playback
 4 * on an ESP32 microcontroller. It initializes a display, sets up an SD card for music storage, and initializes audio output.
 5 * The GUI includes elements managed by LVGL, and music files are loaded from the SD card for playback.
 6 *
 7 * Author: Zhentao Lin
 8 * Date:   2025-04-08
 9 */
10#include "music_ui.h"
11
12#define SD_MMC_CMD 38  //Please do not modify it.
13#define SD_MMC_CLK 39  //Please do not modify it.
14#define SD_MMC_D0 40   //Please do not modify it.
15#define I2S_BCLK 42    //Please do not modify it.
16#define I2S_DOUT 1     //Please do not modify it.
17#define I2S_LRC 41     //Please do not modify it.
18
19Display screen;  // Create an instance of the Display class
20
21void setup() {
22  /* Prepare for possible serial debug */
23  Serial.begin(115200);  // Initialize serial communication at 115200 baud rate
24
25  /* Initialize SD card */
26  sdmmc_init(SD_MMC_CLK, SD_MMC_CMD, SD_MMC_D0);
27  audio_output_init(I2S_BCLK, I2S_LRC, I2S_DOUT);
28
29  /*** Initialize the screen ***/
30  screen.init(TFT_DIRECTION);  // Initialize the display
31
32  // Create a string to display LVGL version information
33  String LVGL_Arduino = "Hello Arduino! ";
34  LVGL_Arduino += String('V') + lv_version_major() + "." + lv_version_minor() + "." + lv_version_patch();
35
36  // Print LVGL version information to the serial monitor
37  Serial.println(LVGL_Arduino);
38  Serial.println("I am LVGL_Arduino");
39
40  setup_scr_music(&guider_music_ui);
41  lv_scr_load(guider_music_ui.music);
42
43  // Print setup completion message to the serial monitor
44  Serial.println("Setup done");
45}
46
47void loop() {
48  screen.routine(); /* Let the GUI do its work */  // Handle routine display tasks
49  delay(5);                                        // Add a small delay to prevent the loop from running too fast
50}
Include the required libraries.
1#include "music_ui.h"
Define SD card and I2S pins.
1#define SD_MMC_CMD 38  //Please do not modify it.
2#define SD_MMC_CLK 39  //Please do not modify it.
3#define SD_MMC_D0 40   //Please do not modify it.
4#define I2S_BCLK 42    //Please do not modify it.
5#define I2S_DOUT 1     //Please do not modify it.
6#define I2S_LRC 41     //Please do not modify it.
Declare TFT screen object.
1Display screen; // Create an instance of the Display class
Initialize SD card.
1sdmmc_init(SD_MMC_CLK, SD_MMC_CMD, SD_MMC_D0);
2audio_output_init(I2S_BCLK, I2S_LRC, I2S_DOUT);
Initialize the TFT screen.
1screen.init(TFT_DIRECTION); // Initialize the display
Initialize the UI component for playing music.
1setup_scr_music(&guider_music_ui);
2lv_scr_load(guider_music_ui.music);
If you are interesting in the implementation of functions, you can check them out here.

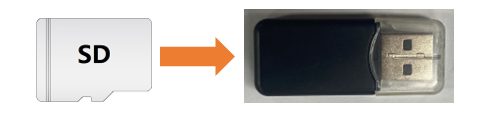
Before uploading the sketch, we need to copy the music files to the SD car. Remove the SD card from the ESP32S3 and insert it into a card reader. Connect the card reader to your computer.
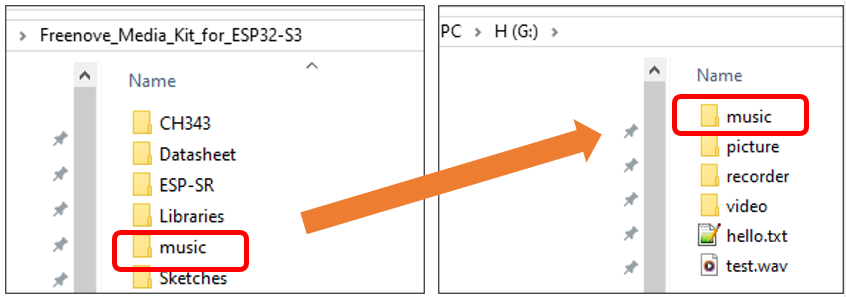
Copy the “music” folder from the “Freenove_Media_Kit_for_ESP32-S3” kit to the root directory of your SD card. You may add personal MP3 files to this folder. Ensure that the folder name is “music”.
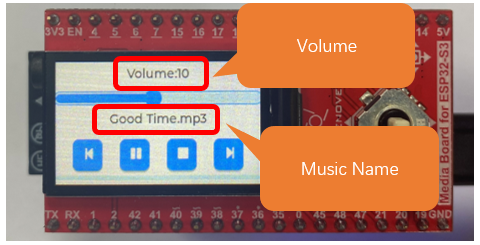
After uploading the code, you can see the screen displaying the following contents.
Note
Here, take 1.14 inches as an example; the usage is the same for 3.5 inches.
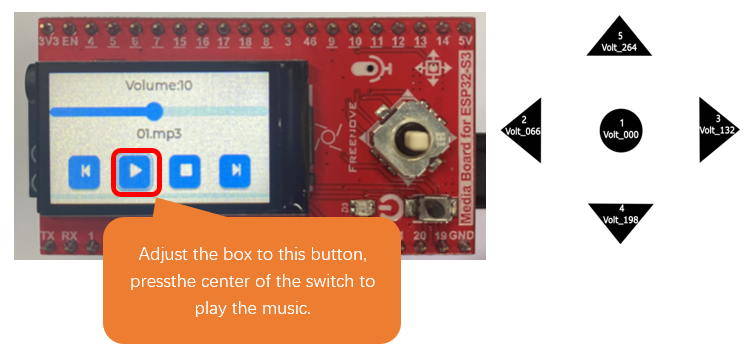
Operating different directions of the 5-way navigation switch will trigger theirorresponding functional events:
Switches 5 and 4 are used to switch between selection boxes.
Switches 2 and 3 are only effective within the volume adjustment option box and remain inactive in other cases.
Button 1 (Center) serves as the confirmation key.
(Please refer to the diagram on the right for the numerical definitions of the buttons.)
If you have any concerns, please feel free to contact us via support@freenove.com