Chapter 15 LVGL Timer
Project 15.1 LVGL Timer
Component List
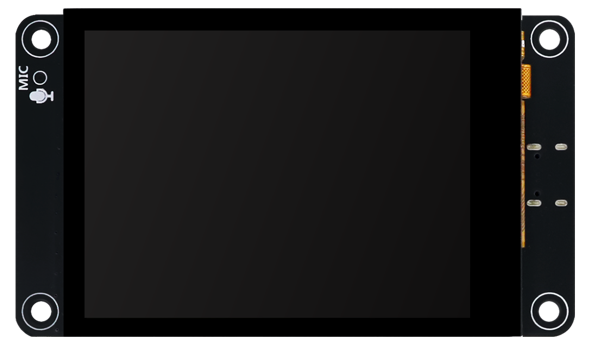
Freenove ESP32-S3 Display x 1
|
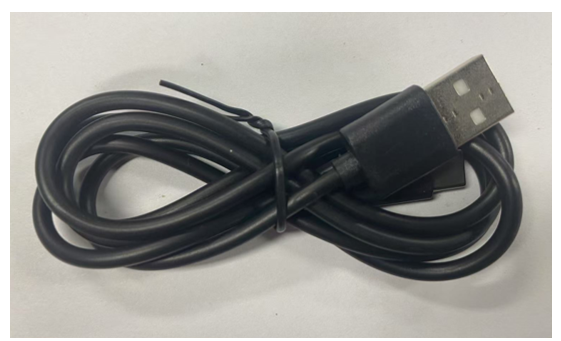
USB cable x1
|
Circuit
Connect Freenove ESP32 -S3 to the computer using the USB cable.

Sketch
Open “Sketch_15.1_Lvgl_Timer” folder under “Freenove_ESP32_S3_Display\Tutorial_With_Touch\Sketches” and double-click “Sketch_15.1_Lvgl_Timer.ino”.
Sketch_15.1_Lvgl_Timer
The following is the program code:
 1/*
 2* @ File:   Sketch_15.1_LVGL_Timer.ino
 3* @ Author: [Zhentao Lin]
 4* @ Date:   [2025-06-23]
 5*/
 6
 7#include "display.h"
 8#include "chronograph_ui.h"
 9
10Display screen;
11void setup() {
12  Serial.begin(115200);
13
14  /*** Init screen ***/
15  screen.init();
16  /***  Print lvgl version ***/
17  String LVGL_Arduino = "Hello Arduino! ";
18  LVGL_Arduino += String('V') + lv_version_major() + "." + lv_version_minor() + "." + lv_version_patch();
19  Serial.println(LVGL_Arduino);
20  Serial.println("I am LVGL_Arduino");
21  Serial.println("Setup done");
22
23  /*** The custom code ***/
24  setup_scr_chronograph(&guider_chronograph_ui);
25  lv_scr_load(guider_chronograph_ui.chronograph);
26}
27
28void loop() {
29  screen.routine();
30  delay(5);
31}
Code Explanation
Include the header files.
1#include "display.h"
2#include "chronograph_ui.h"
Set the baud rate to 115200.
1Serial.begin(115200);
Initialize configuration.
1screen.init();
Create and load the interface.
1setup_scr_chronograph(&guider_chronograph_ui);
2lv_scr_load(guider_chronograph_ui.chronograph);
LVGL task processor.
1screen.routine();
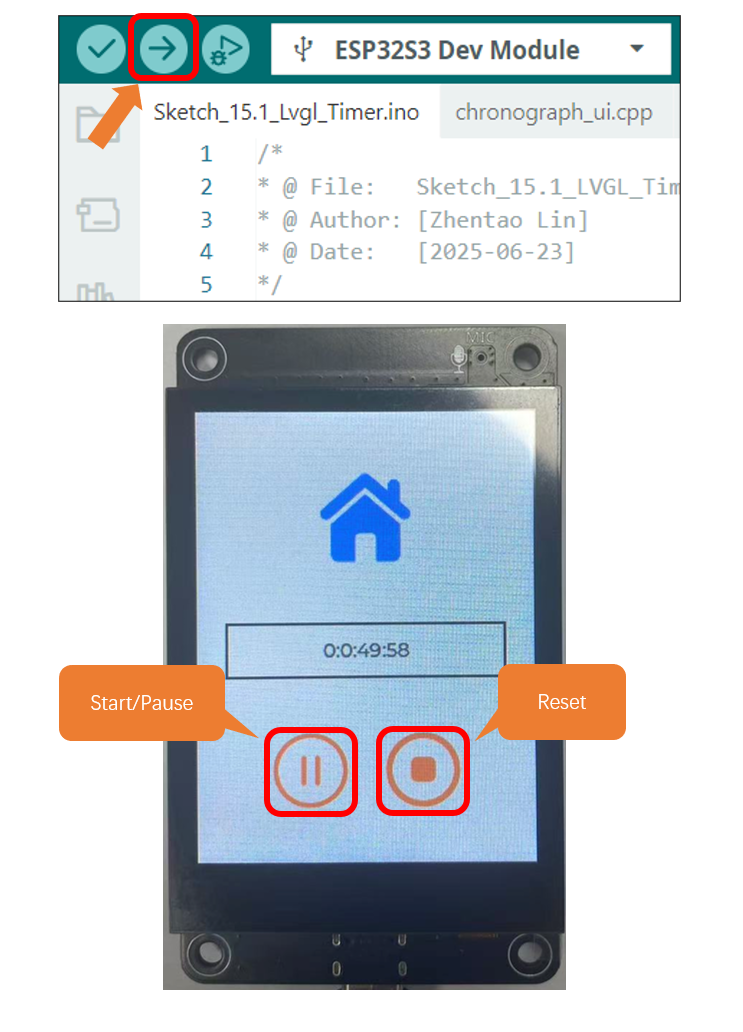
Click “Upload” to upload the code to Freenove ESP32-S3 Display. Set the baud rate to 115200.