XiaoZhi AI Code
Visual Studio Code
Windows
First, download Visual Studio Code by visiting https://code.visualstudio.com/Download. Choose the appropriate version for your operating system, then download and install it.

Double-click the downloaded .exe file to run it.
Check the box for “I accept the agreement.”
Then click Next.

The installation location can be left as the default or changed to a desired path. After that, proceed by clicking Next repeatedly.
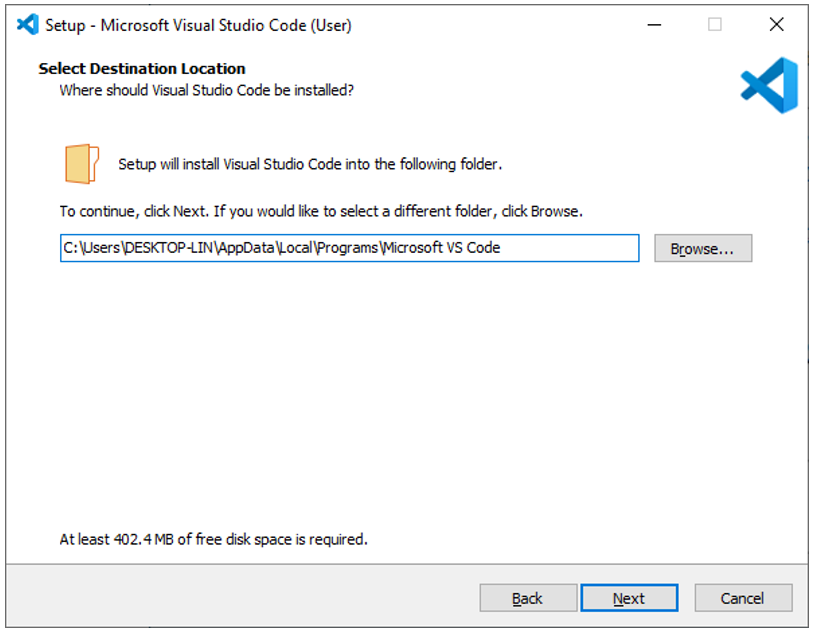
On this screen, verify that “Add to PATH” is selected. If unchecked, enable it. Proceed by clicking Next repeatedly to finish the installation.

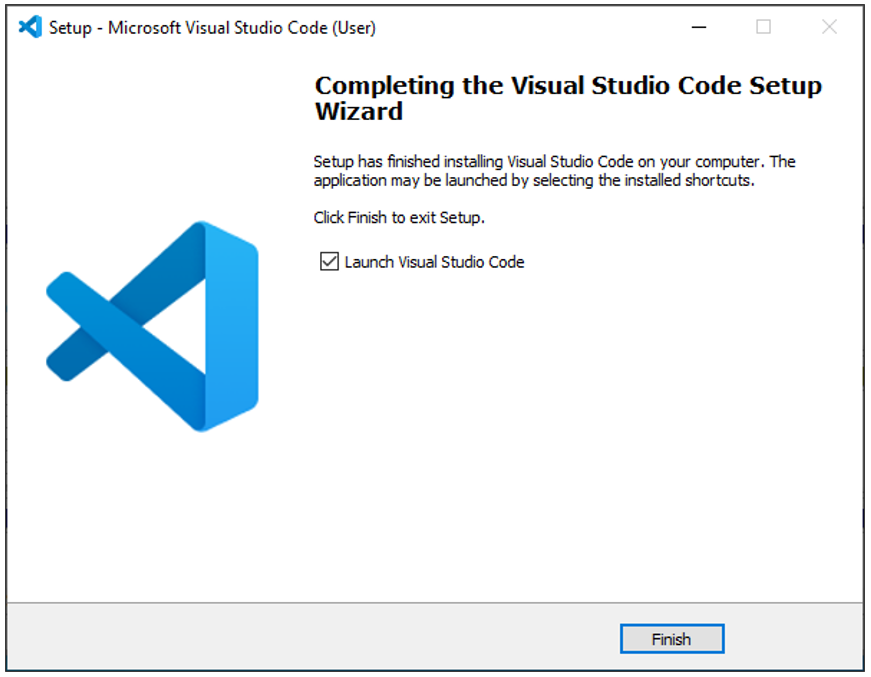
The installation is now complete, as shown in the image below.
Mac
Typically, MacOS comes with Visual Studio Code pre-installed. If your computer does not have it, please install it first.
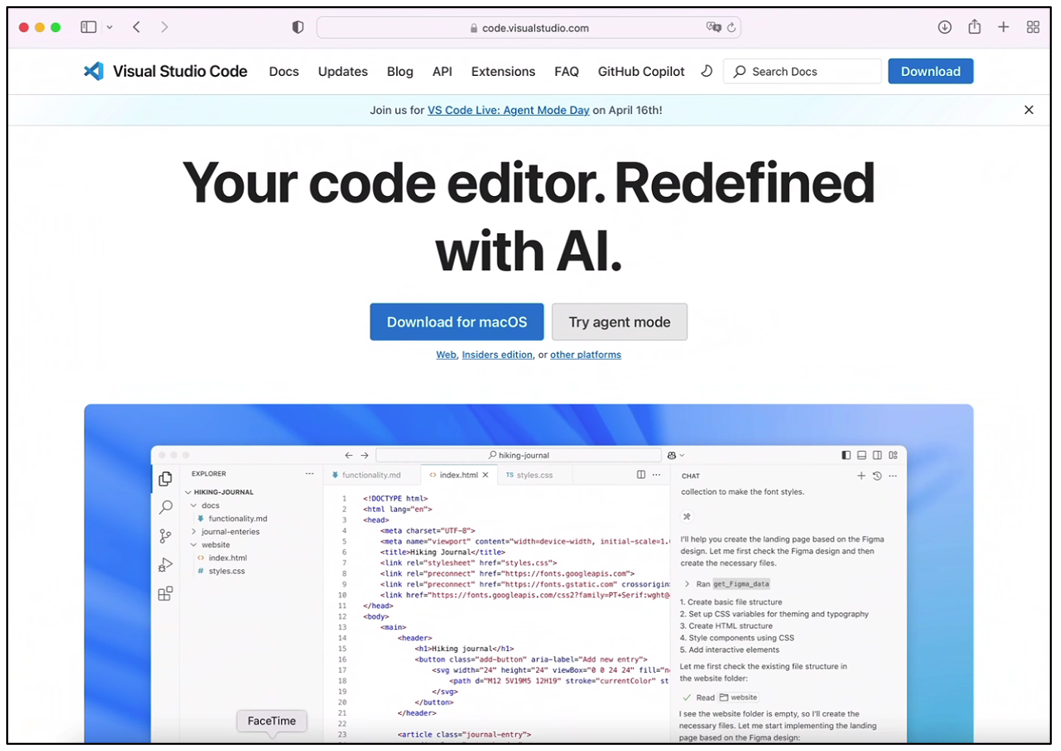
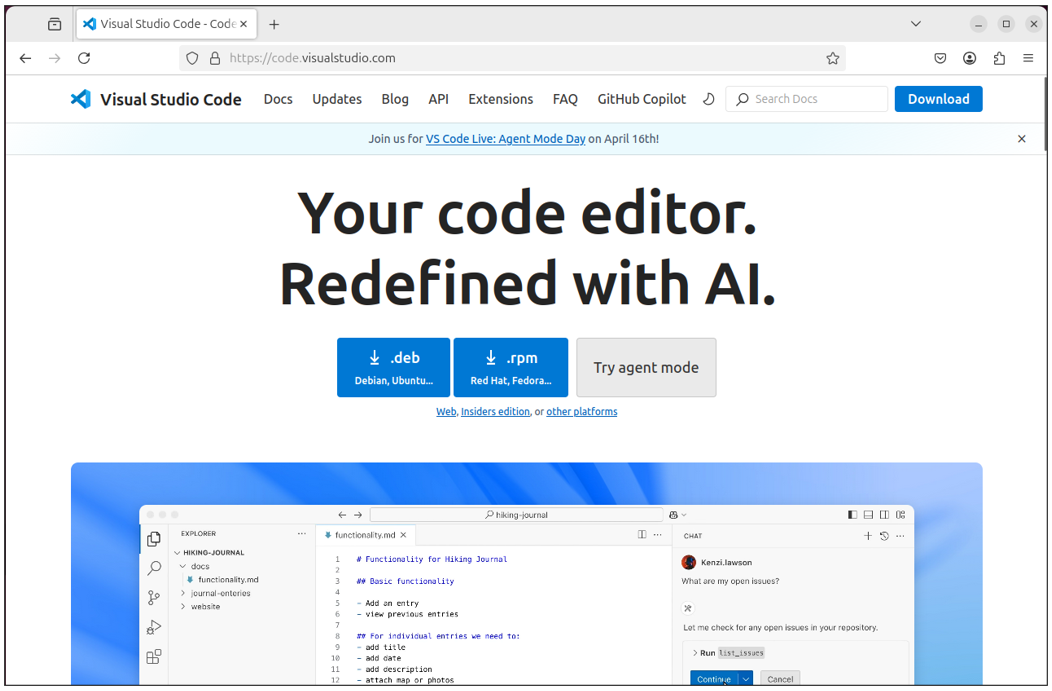
Visit https://code.visualstudio.com and click “Download for macOS”.
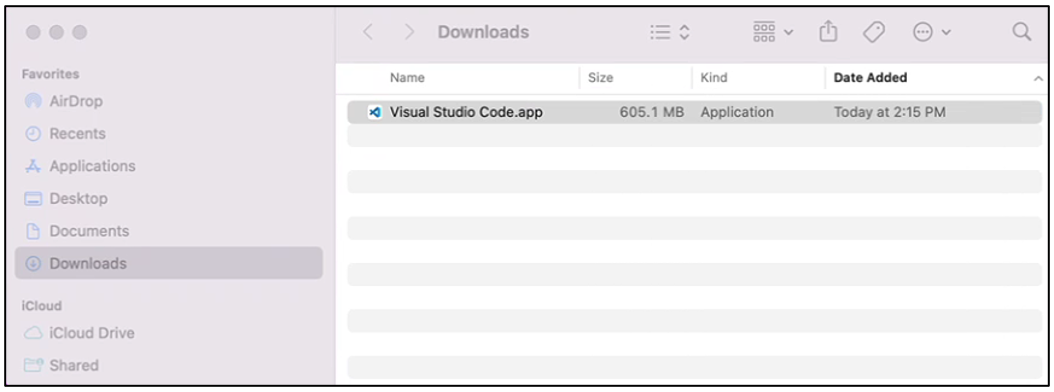
Double click to run the program.
Linux
If your computer does not have Visual Studio Code, please install it first.
Visit https://code.visualstudio.com and click “.deb”.
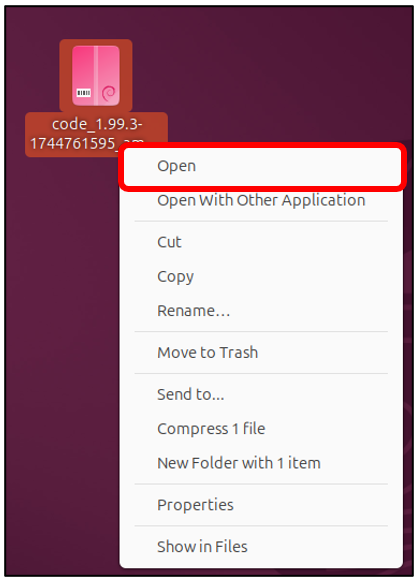
Open the downloaded“code_xxx.deb” file.
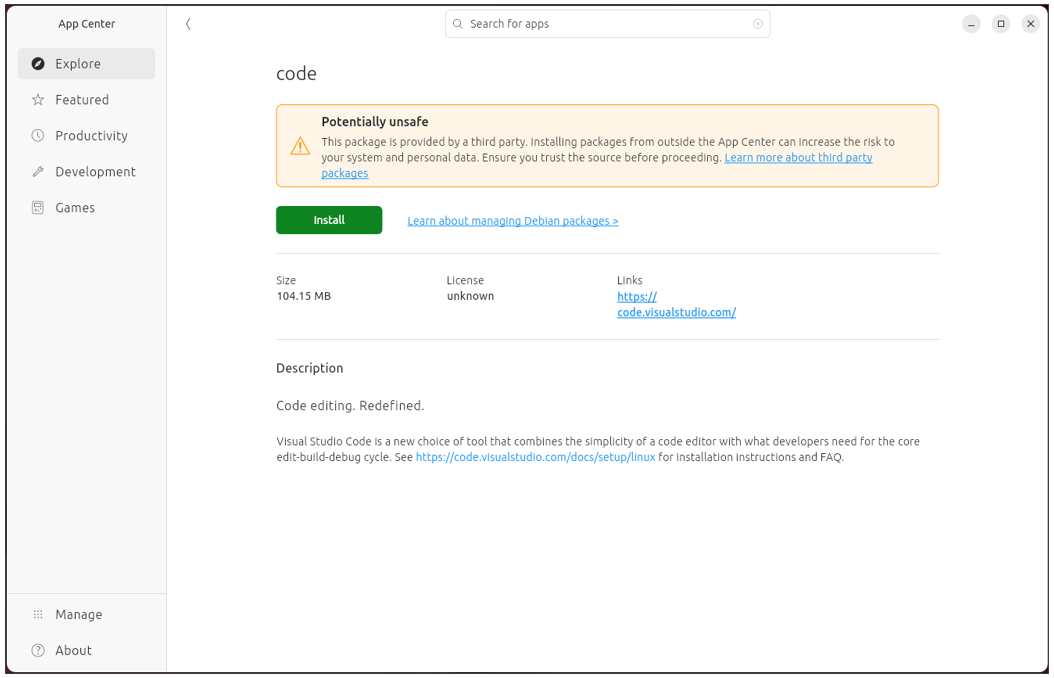
Click “Install” to install Visual Studio Code.
Wait for the installation to complete. Once finished, it should look like the image below.

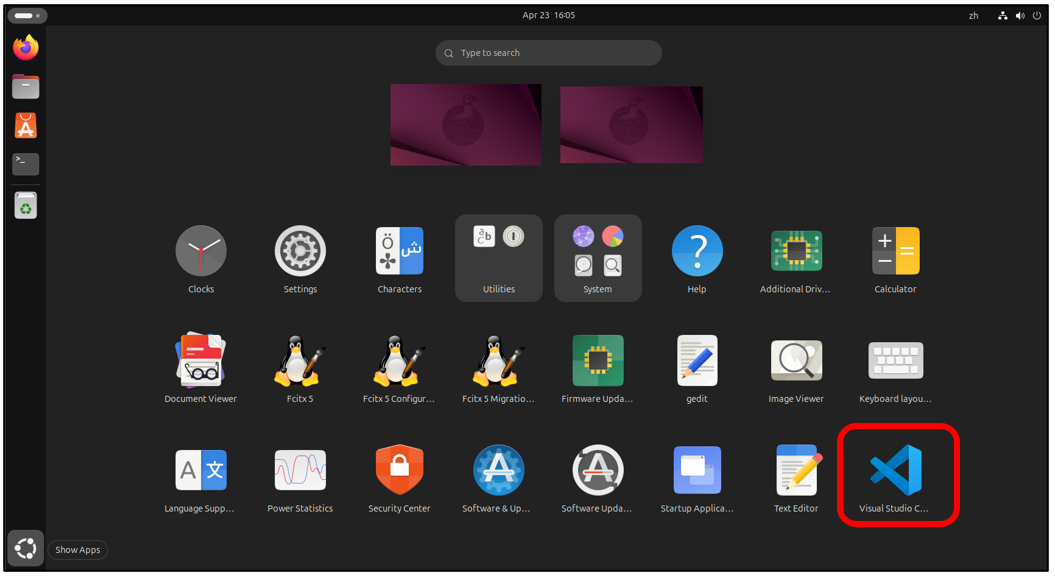
Click Show Apps and you can see the Visual Studio Code is in the system.
Installing ESP-IDF V5.3.2
Visual Studio Code is a versatile code editor. To program with the ESP-IDF SDK, we need to install the ESP-IDF extension for it.
Open Visual Studio Code.
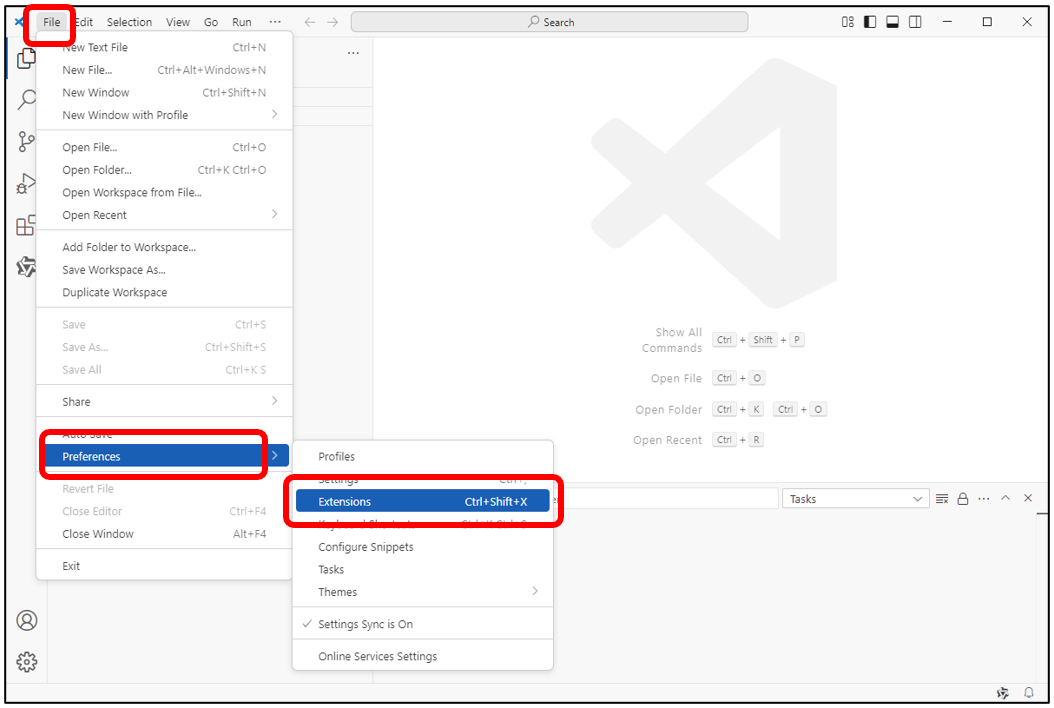
Click on the menu bar: File -> Preferences -> Extensions.
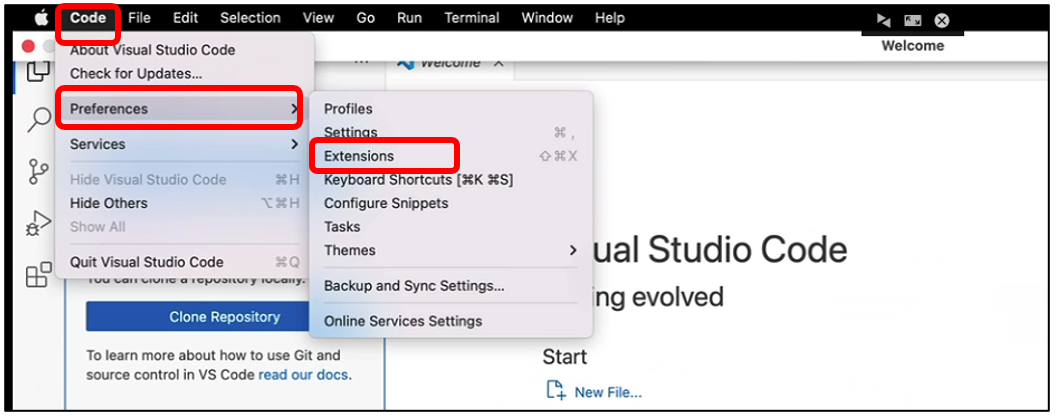
Mac OS: Click “Code” -> ”Preferences” -> ”Extensions” on the menu bar.
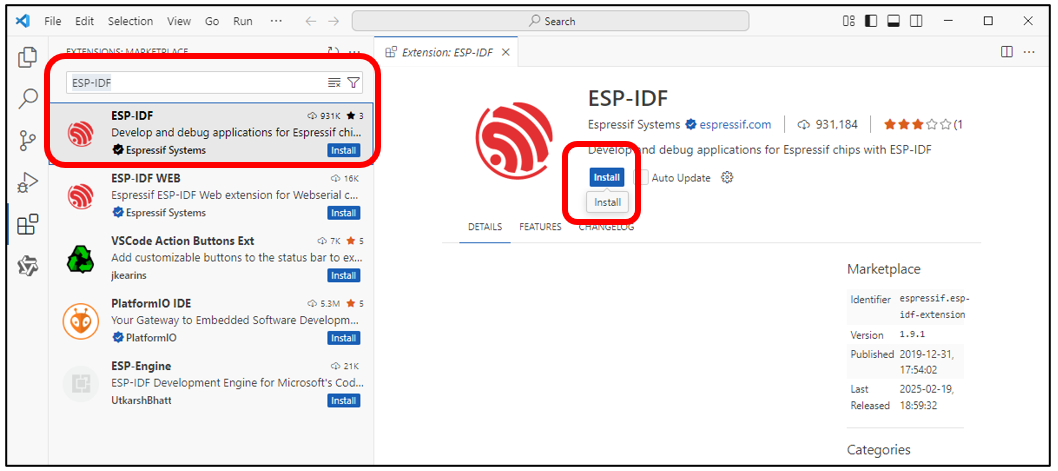
Search for “ESP-IDF” in the extension bar, select the correct result from the list, then click the Install button to proceed.
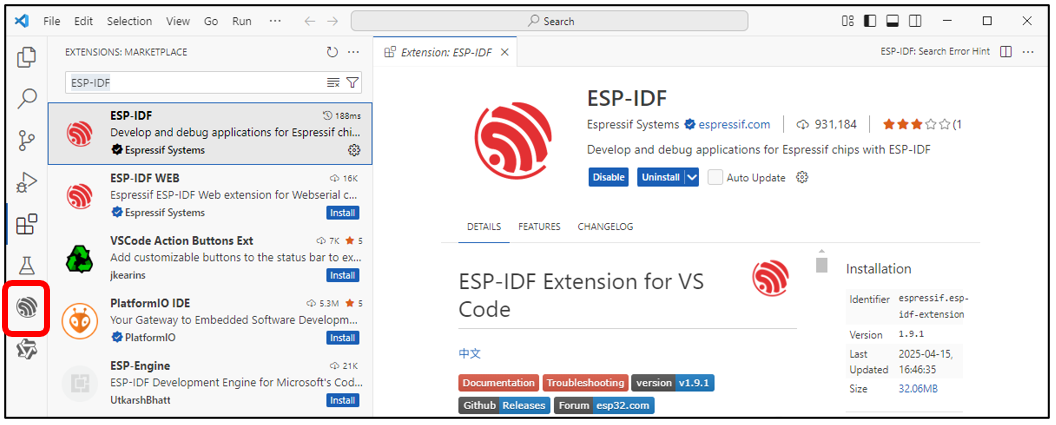
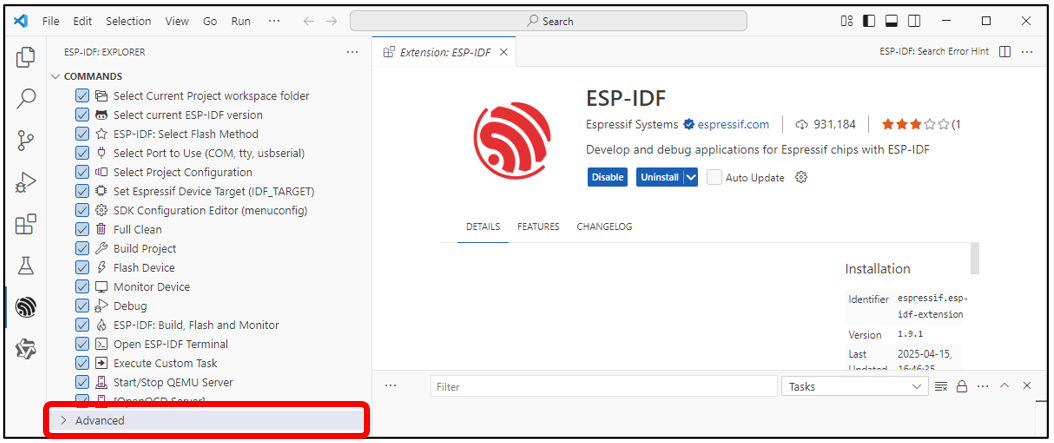
The ESP-IDF extension icon will now appear in the left sidebar - click it to continue.
Scroll down with your mouse, locate and click on the “Advanced” option.
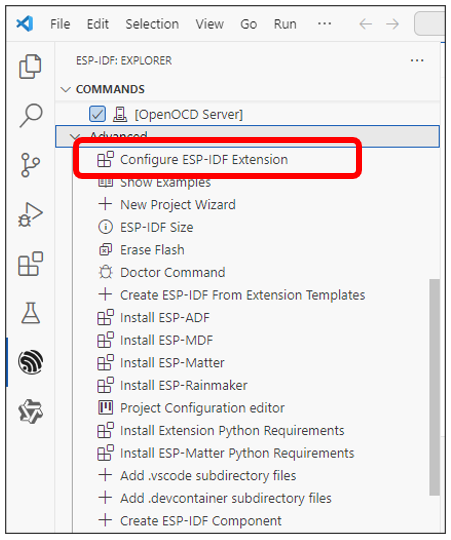
Click the first option: “Configure ESP-IDF Extension”.
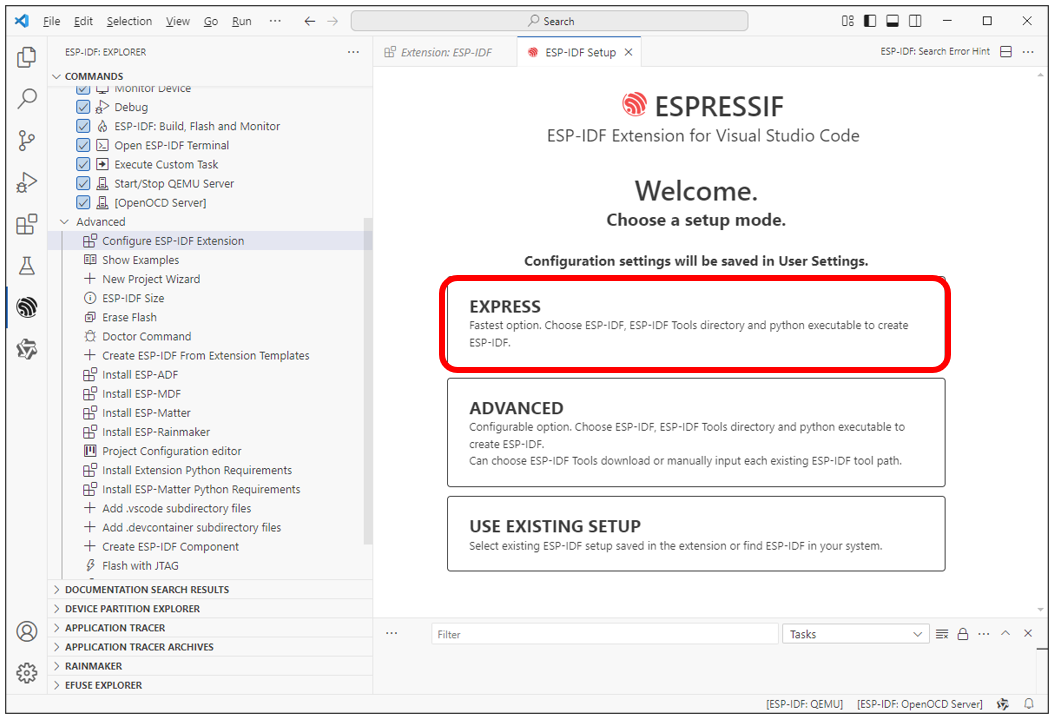
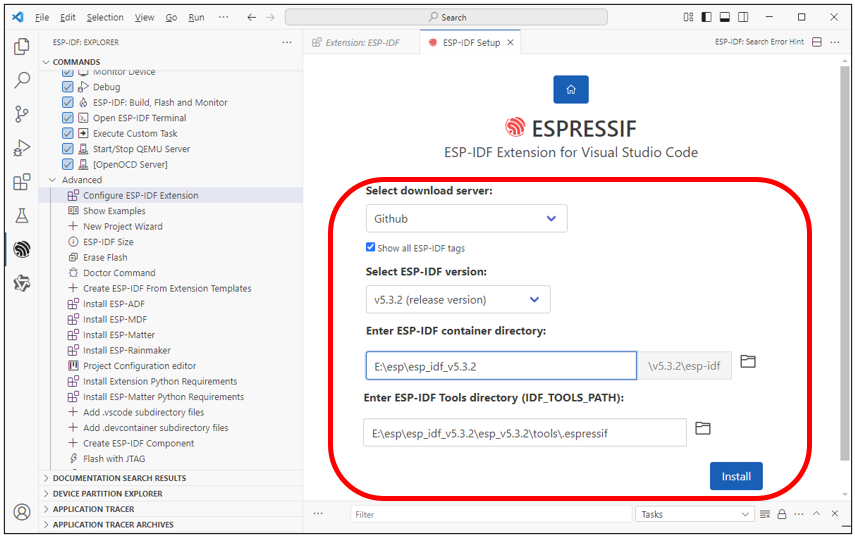
Select “EXPRESS” on the right.
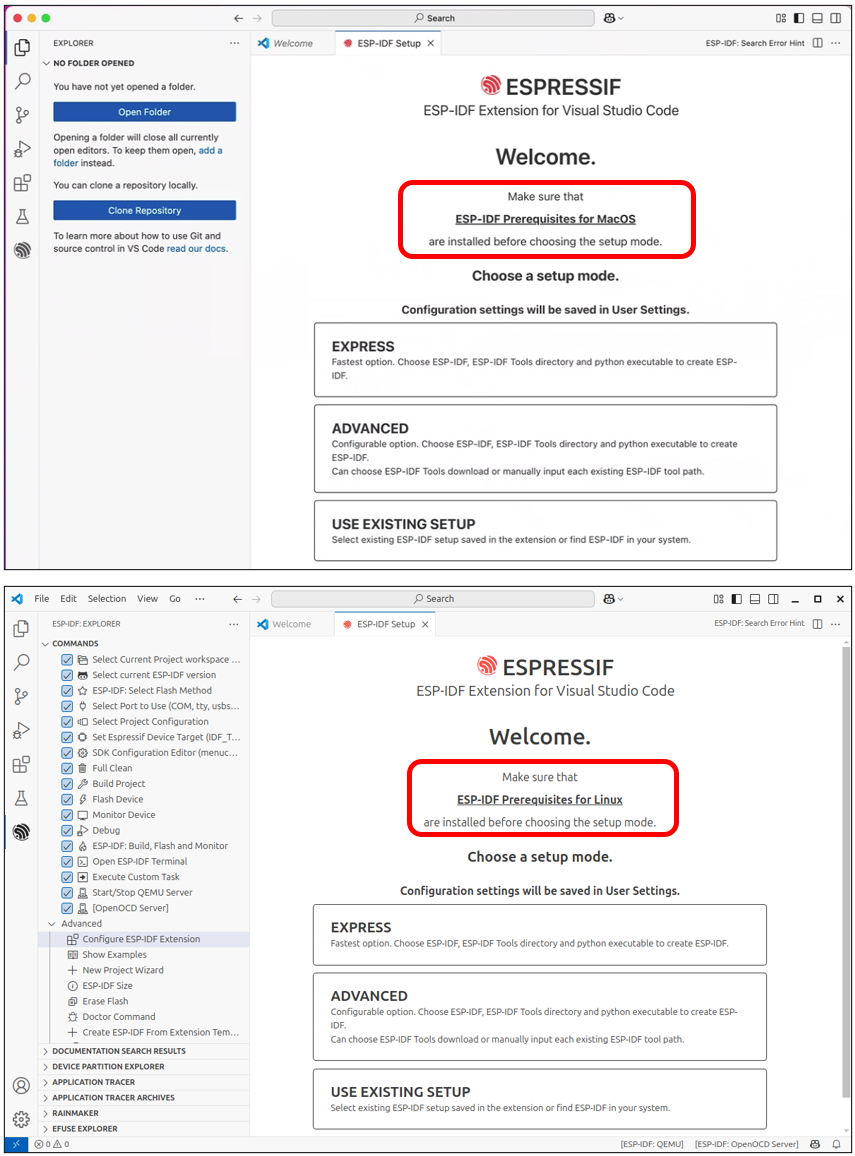
Note
If you’re using macOS or Ubuntu, please complete the necessary preparations as prompted before proceeding with installation.
Check the box for “Show all ESP-IDF tags”
Select “v5.3.2 (release version)” from the dropdown
Choose your desired installation path for the ESP-IDF environment
Click “Install” to begin the setup
The process will complete automatically.
If it failed, locate your chosen ESP-IDF directory, remove the failed installation folder and install it again.
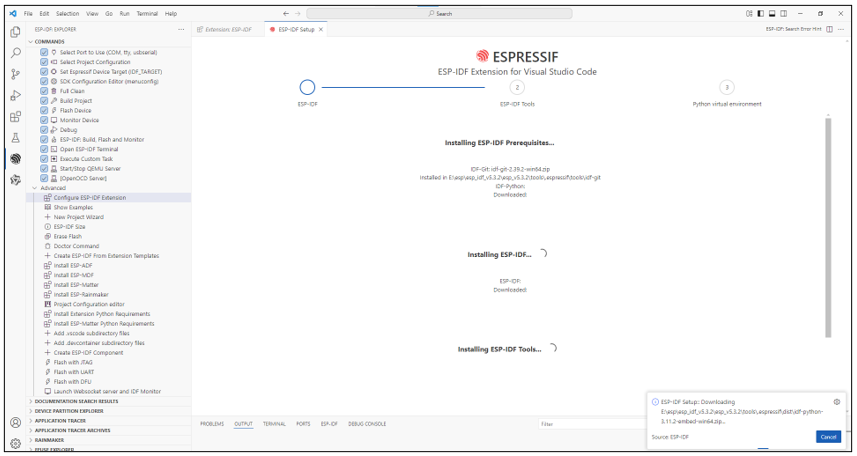
This step may take a while, so please ensure you have a stable and fast internet connection.
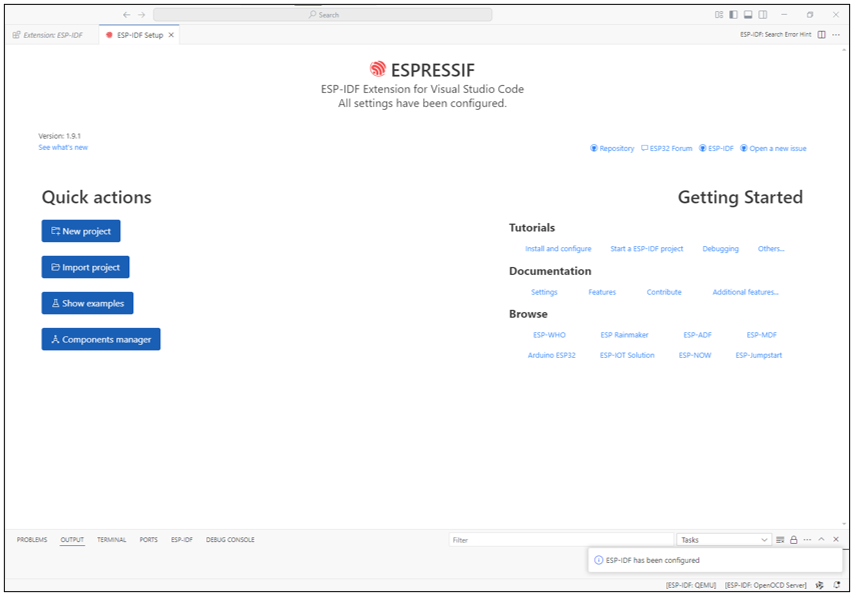
The complete installation is as shown below.
For more about ESP-IDF, please refer to
https://docs.espressif.com/projects/vscode-esp-idf-extension/en/latest/installation.html
Code Downloading
Windows
Open a browser on your computer and enter “https://github.com/Freenove/xiaozhi-esp32”.

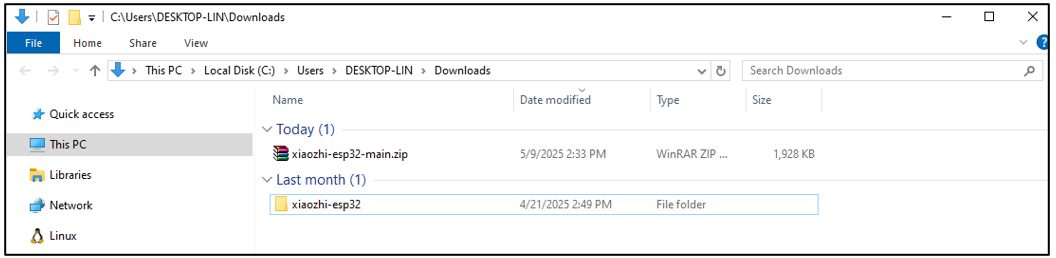
Click “Code” -> “Download ZIP” to download the code to your computer.

Extract the downloaded zip file to your computer. Rename the decompressed folder to “xiaozhi-esp32”.
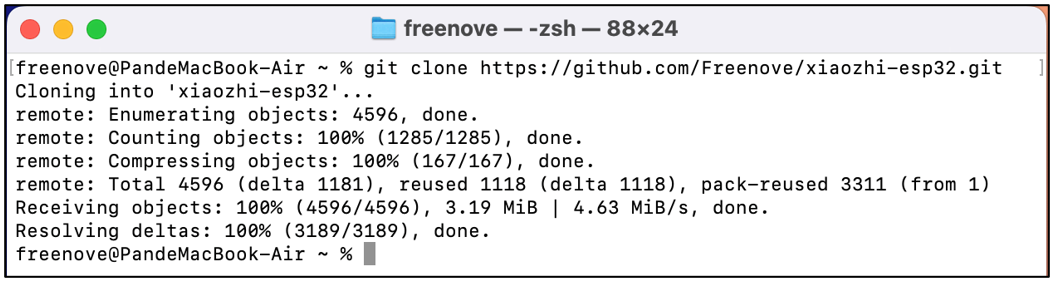
Mac
Open the terminal and download the code with the git command.
git clone https://github.com/Freenove/xiaozhi-esp32.git
Linux
Open the terminal and download the code with the git command.
git clone https://github.com/Freenove/xiaozhi-esp32.git

Configure Code Environment
Extract the downloaded ZIP file.
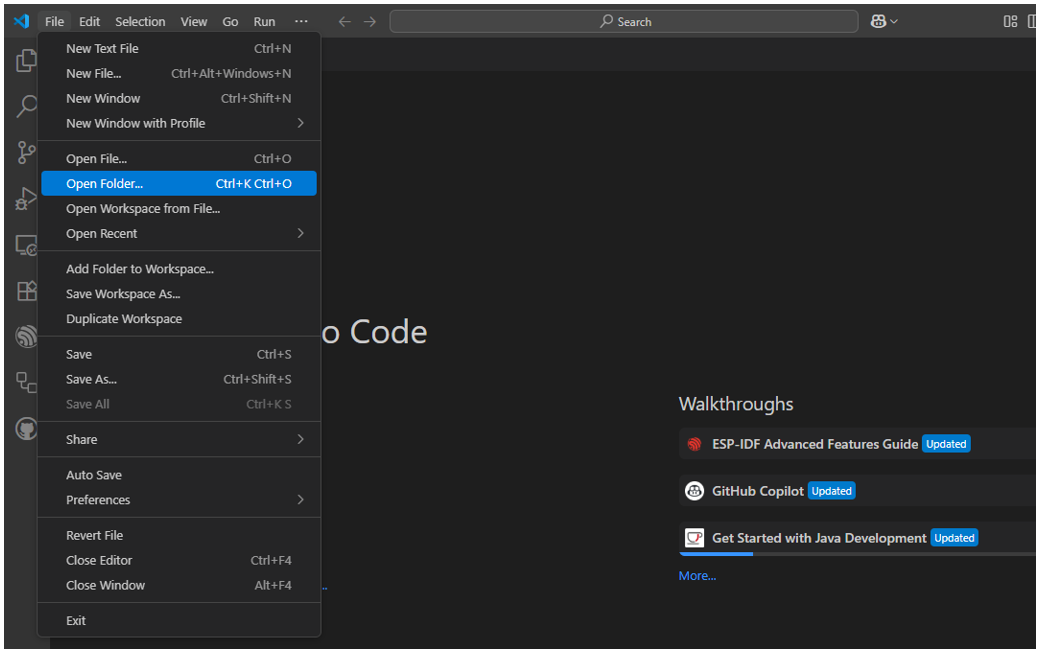
On Visual Studio Code, click “File” -> “Open Folder…”.
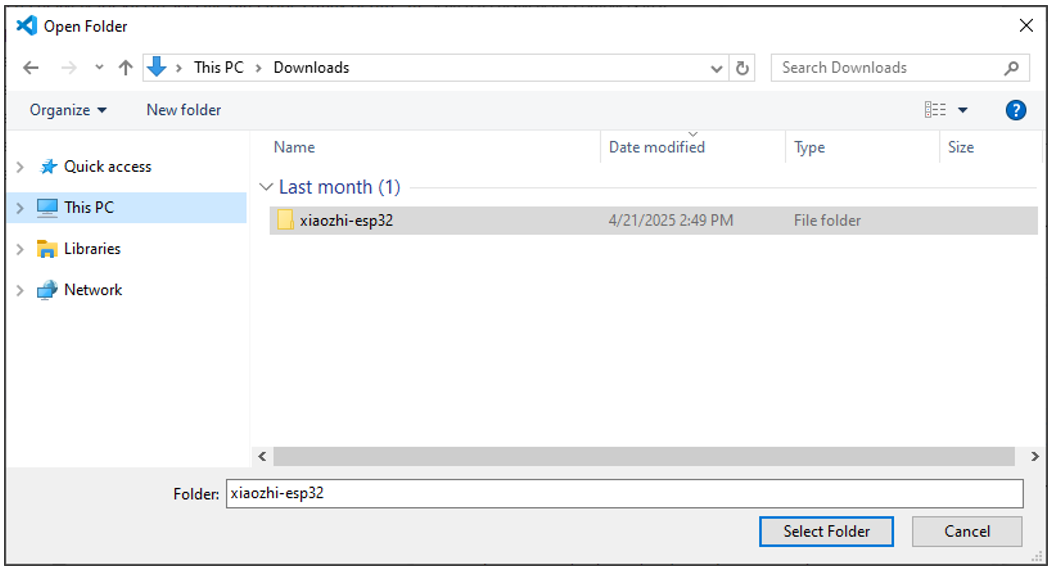
Select the xiaozhi-esp32 folder. Here, the interface of the Windows system is taken as an example. The operation of the mac system is similar to that of Linux.
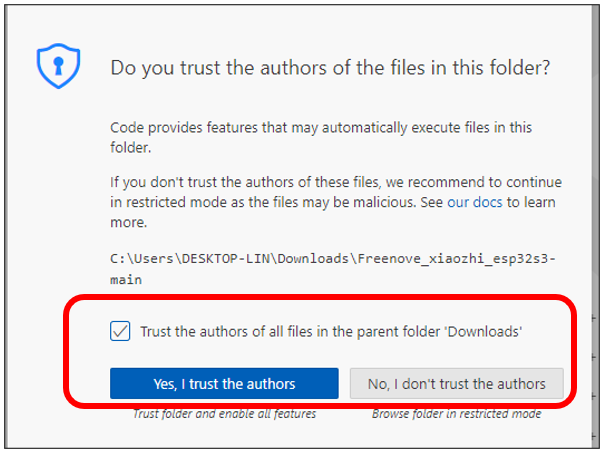
Check the box “Trust the authors of all files in the parent folder “Downloads” and select “Yes, I trust the authors”.
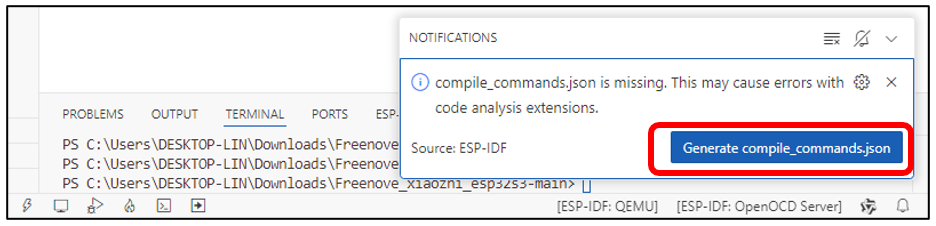
Please note: A pop-up notification will appear in the lower-right corner. Click ‘Generate comple_commands.json’, and it will download the corresponding component module code based on the file.”
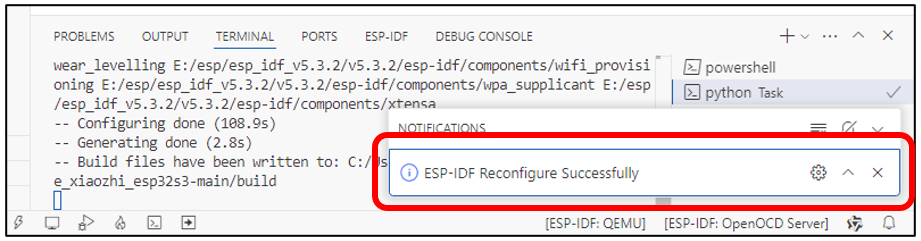
Component installation may take some time. Please wait and avoid other operations. A completion notification will appear in the lower-right corner once finished.
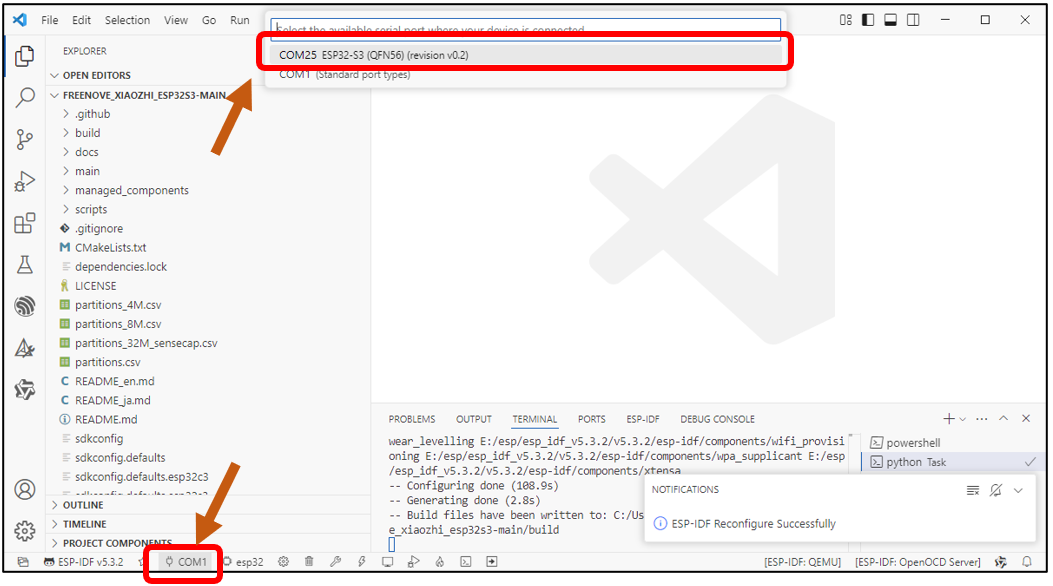
Connect the Freenove ESP32-S3 Display to your computer using a USB cable.
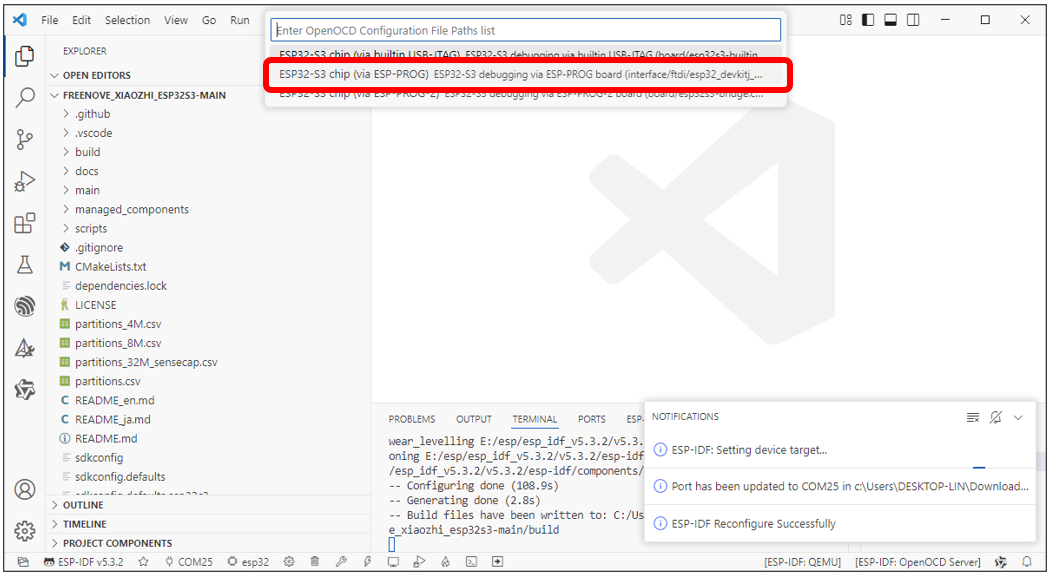
Click on ‘COMx’ in the bottom-left corner to display all available COM ports on your computer. Locate and select the entry labeled ‘ESP32-S3’.
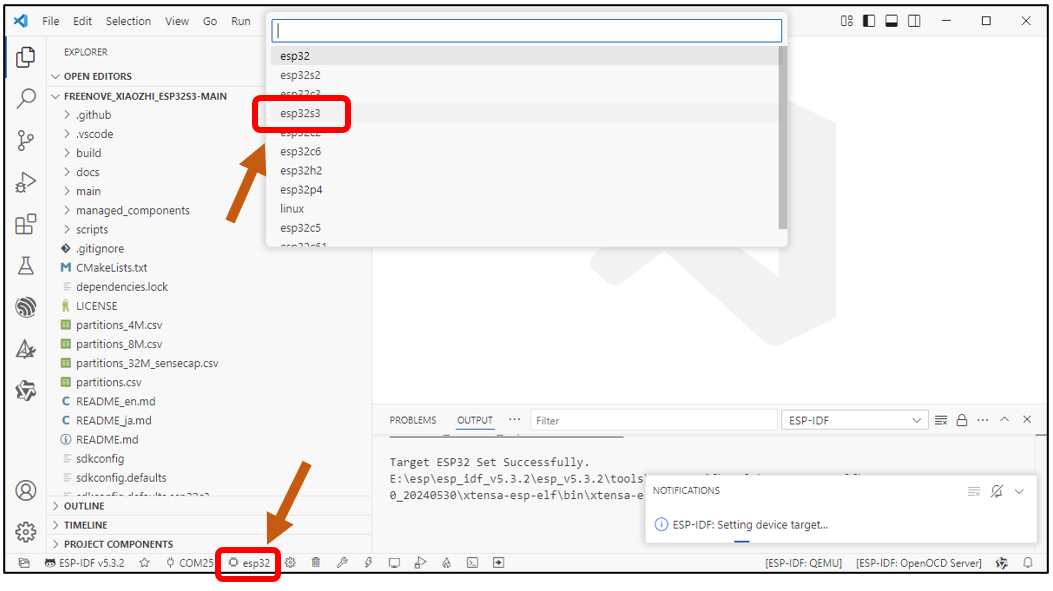
Click the ‘ESP32’ button in the bottom-left corner to display all available ESP32 models, then select ‘ESP32-S3’ from the list.”
From the new selection menu, choose ‘ESP32-S3 Chip (via ESP-PROG) - ESP32-S3 debugging via ESP-PROG Board…’
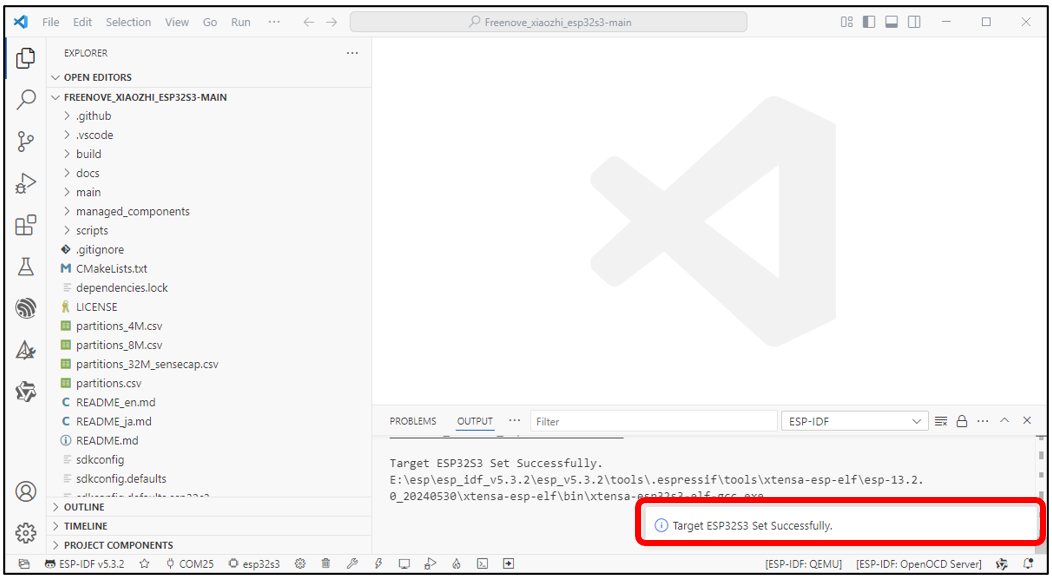
Wait until it shows “Target ESP32S3 Set Successfully” at the bottom right.
Click “SDK Configuration Editor (menuconfig)” at the bottom.

On the new interface, click ‘Serial flasher config’ and verify that the settings match the configuration shown in the image below.

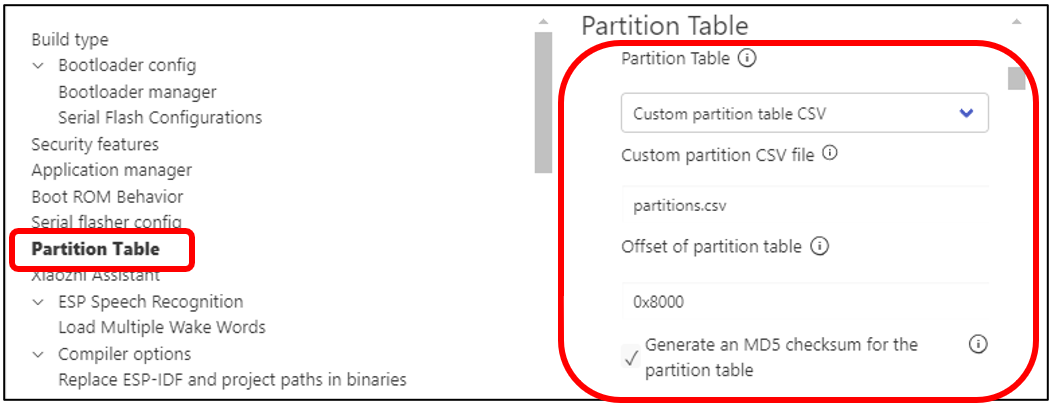
Click “Partition Table” and verify that the settings match the configuration shown in the image below.
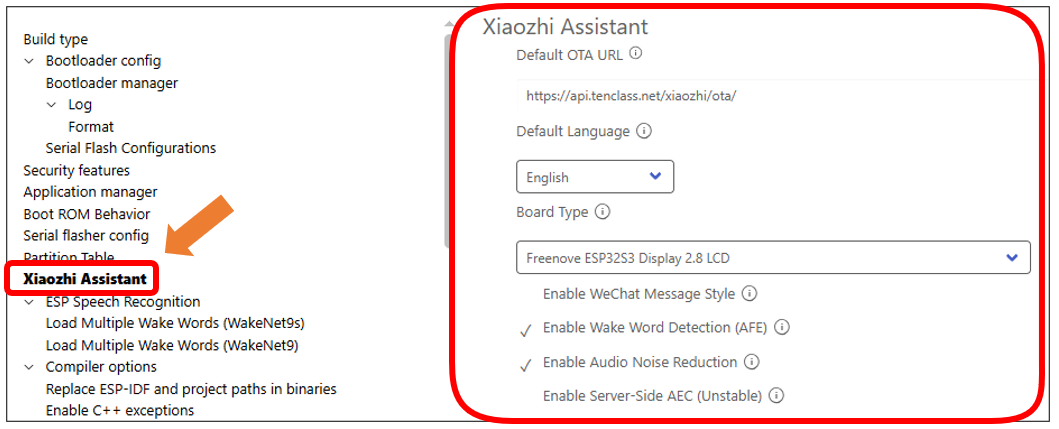
Click “Xiao Assistant” and verify that the settings match the configuration shown in the image below.
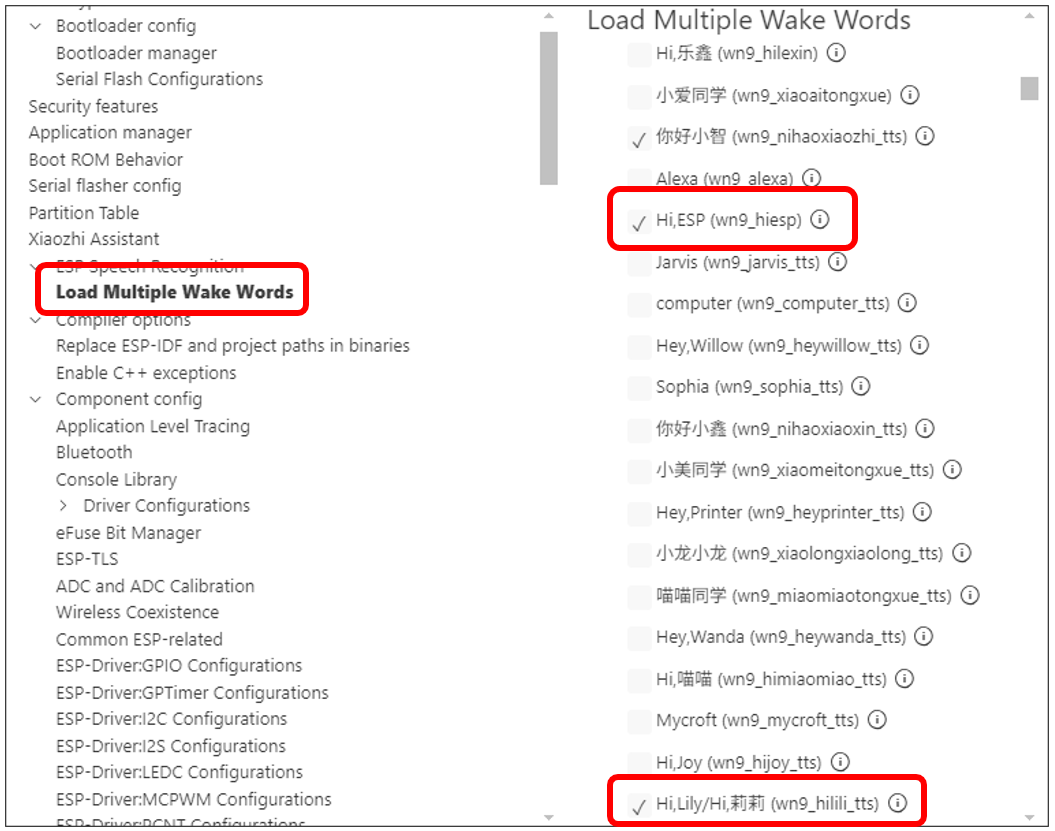
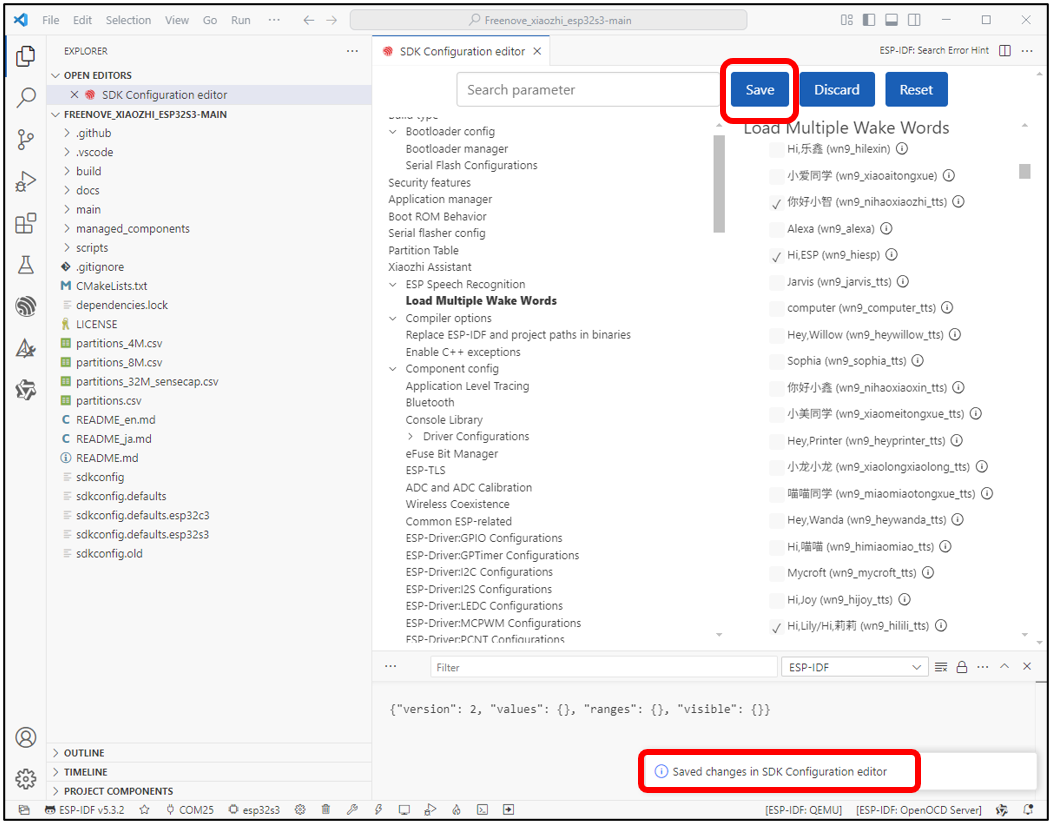
Click “Load Multiple Wake Words” and check the boxes for ‘Hi, ESP’ and ‘Hi, Lily’ (and other desired options).
Finally, click “Save” to store your configuration. A success message will appear at the bottom upon completion.
Code Compilation
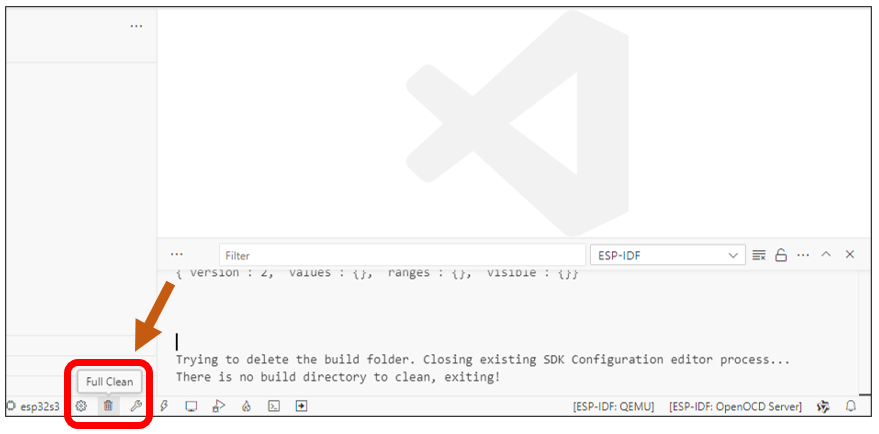
Before compiling, make sure all aforementioned configurations are correct. Click the ‘Full Clean’ button (bottom toolbar) to reset build cache.
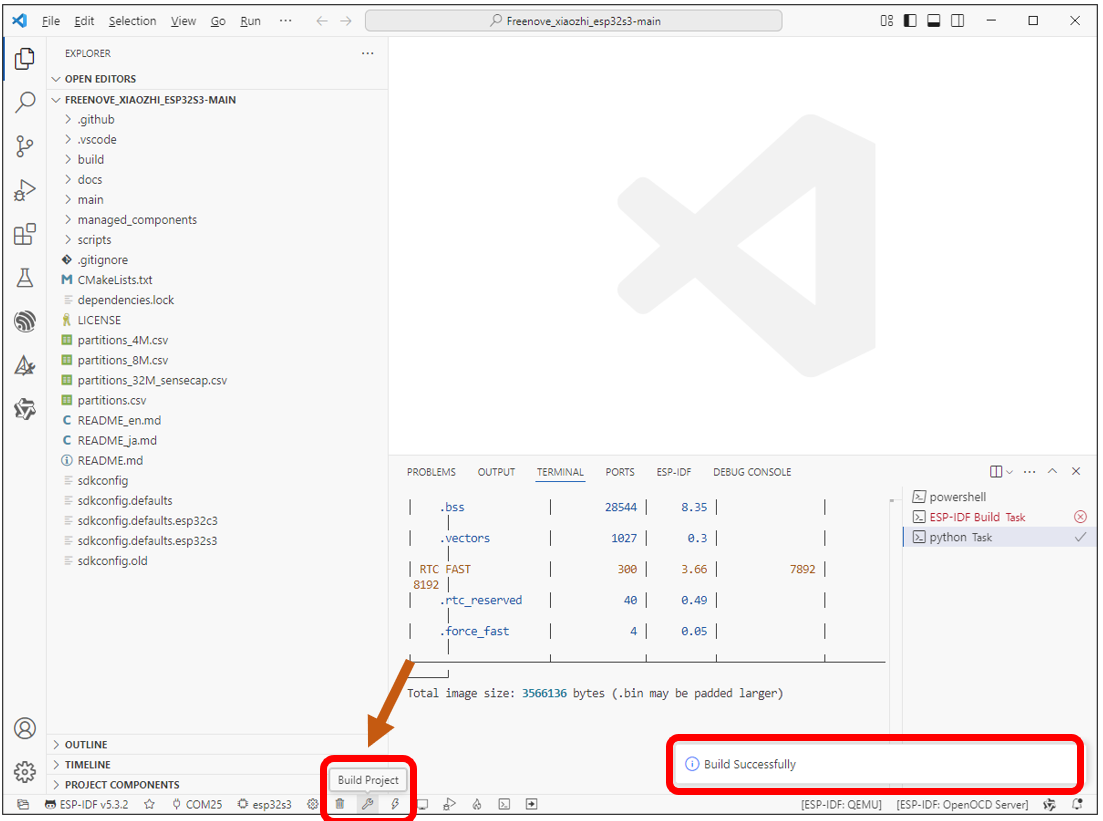
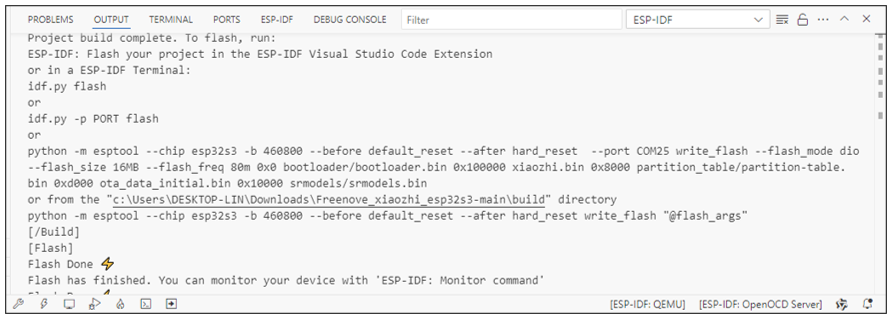
Click ‘Build Project’ at the bottom to start compiling the entire project. The first compilation may take longer - please wait patiently until the success message appears in the output panel.
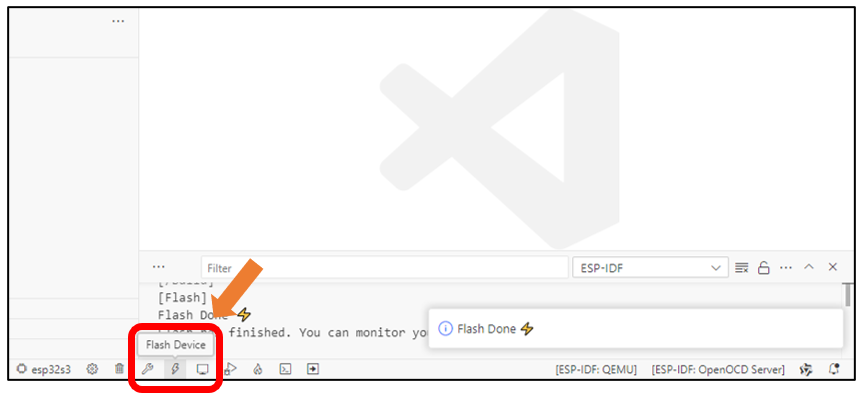
Click ‘Flash Device’ at the bottom to start uploading the code to your Freenove ESP32-S3 Display.
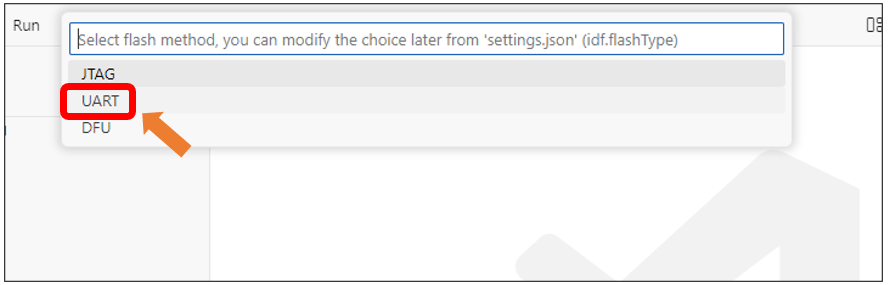
From the new options menu, select ‘UART’ and wait for the code upload to complete.
Upon seeing the message ‘Flash has finished. You can monitor your device with “ESP-IDF: Monitor command”’, this indicates you have successfully uploaded XiaoZhi AI’s firmware to the Freenove ESP32-S3 Display.
At this point, the compilation is complete and you’re ready for secondary development.