Chapter 24 Hygrothermograph DHT11
In this chapter, we will learn about a commonly used sensor called a Hygrothermograph DHT11.
Project 24.1 Hygrothermograph
Hygrothermograph is an important tool in our lives to give us data on the temperature and humidity in our environment. In this project, we will use the ESP8266 to read temperature and humidity data of the DHT11 Module.
Component List
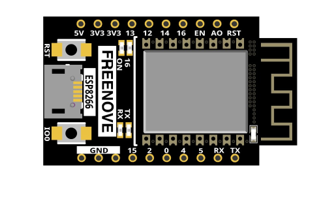
ESP8266 x1
|
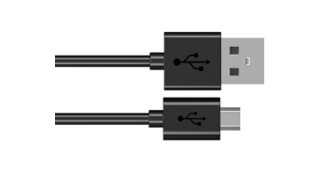
USB cable |
||
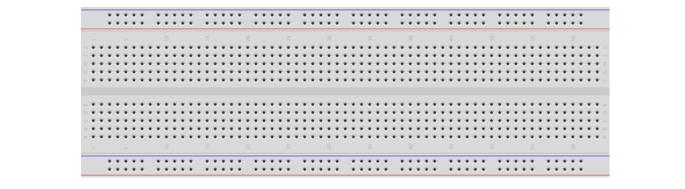
Breadboard x1
|
|||
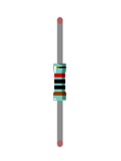
Resistor 10kΩ x1
|
Infrared Remote x1 |
Jumper wire M/M x6 |
|

Component knowledge
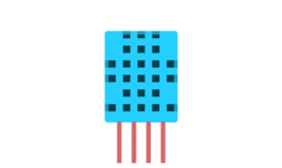
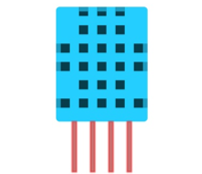
The temperature & humidity sensor DHT11 is a compound temperature & humidity sensor, and the output digital signal has been calibrated by its manufacturer.
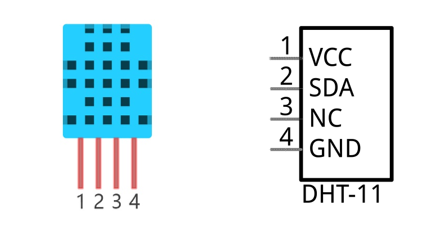
DHT11 uses customized single-line communication protocol, so we can use the library to read data more conveniently.
After being powered up, it will initialize in 1s. Its operating voltage is within the range of 3.3V-5.5V.
The SDA pin is a data pin, which is used to communicate with other devices.
The NC pin (Not Connected Pin) is a type of pin found on various integrated circuit packages. Those pins have no functional purpose to the outside circuit (but may have an unknown functionality during manufacture and test). Those pins should not be connected to any of the circuit connections.
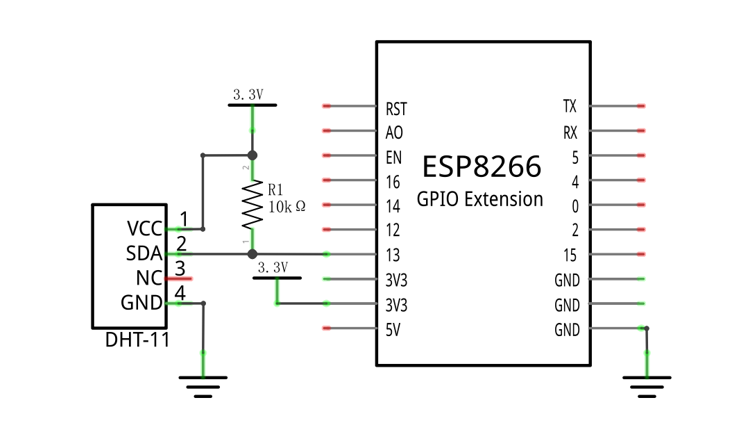
Circuit
Schematic diagram |
|
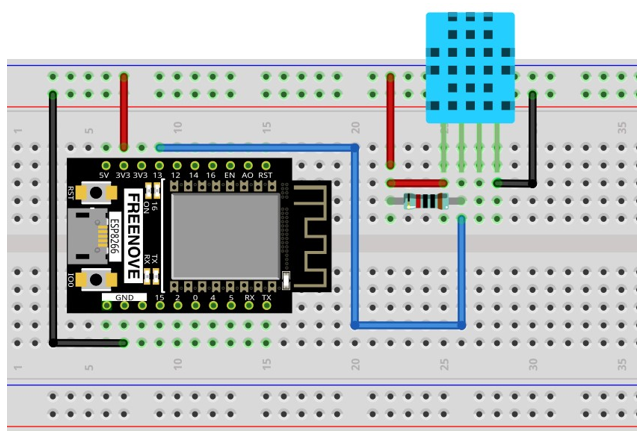
Hardware connection If you need any support, please feel free to contact us via: support@freenove.com |
|
Sketch
How to install the library
The code is used to read the temperature and humidity data of DHT11, and print them out.
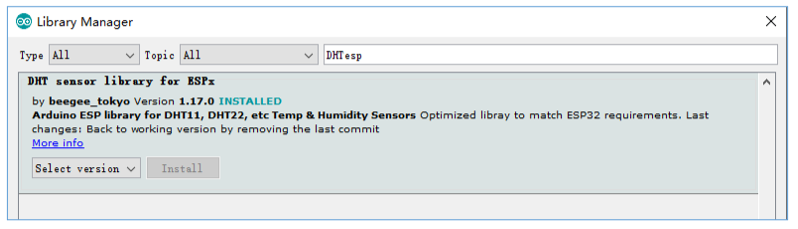
We use the third party library DHTesp. If you haven’t installed it yet, please do so now. The steps to add third-party libraries are as follows: open arduino->Sketch->Include library-> Manage libraries. Enter “ DHTesp “ in the search bar and select “ DHTesp “ for installation.
Refer to the following operations:
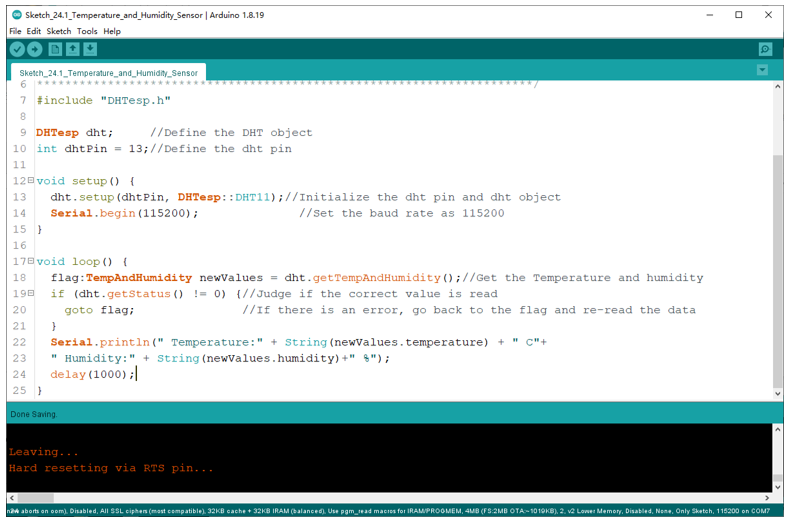
Sketch_24.1_Temperature_and_Humidity_Sensor
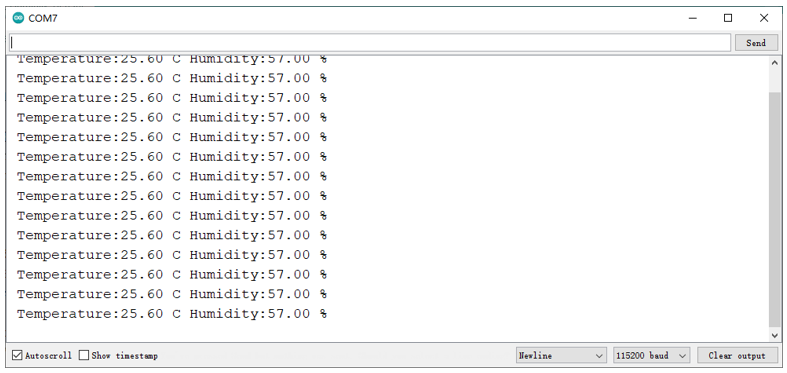
Compile and upload the code to the ESP8266, turn on the serial monitor, and set the baud rate to 115200. Print out data of temperature and humidity sensor via the serial port.
The following is the program code:
 1/**********************************************************************
 2  Filename    : Temperature and Humidity Sensor
 3  Description : Use DHT11 to measure temperature and humidity.Print the result to the serial port.
 4  Auther      : www.freenove.com
 5  Modification: 2022/05/11
 6**********************************************************************/
 7#include "DHTesp.h"
 8
 9DHTesp dht;     //Define the DHT object
10int dhtPin = 13;//Define the dht pin
11
12void setup() {
13  dht.setup(dhtPin, DHTesp::DHT11);//Initialize the dht pin and dht object
14  Serial.begin(115200);              //Set the baud rate as 115200
15}
16
17void loop() {
18  flag:TempAndHumidity newValues = dht.getTempAndHumidity();//Get the Temperature and humidity
19  if (dht.getStatus() != 0) {//Judge if the correct value is read
20    goto flag;               //If there is an error, go back to the flag and re-read the data
21  }
22  Serial.println(" Temperature:" + String(newValues.temperature) + " C"+
23  " Humidity:" + String(newValues.humidity)+" %");
24  delay(2000);
25}
In this project code, we use a third party library, DHTesp, and we need to define the objects for it first; Otherwise we could not use its functionality.
1#include "DHTesp.h"
2
3DHTesp dht;     //Define the DHT object
Initialize the connection pin of DHT and select the type of temperature and humidity sensor as DHT11. If the temperature and humidity sensor is DHT12, we can also change it to DHT12.
1dht.setup(dhtPin, DHTesp::DHT11);//Initialize the dht pin and dht object
Due to the use of the single-line protocol, data may be lost in the transmission process. So each time when getting the data of the temperature and humidity sensor, we need to call the getStatus function to determine whether the data is normal. If not, use goto to go back to line 12 and re-execute the program.
1flag:TempAndHumidity newValues = dht.getTempAndHumidity();//Get the Temperature and humidity
2if (dht.getStatus() != 0) {//Judge if the correct value is read
3  goto flag;               //If there is an error, go back to the flag and re-read the data
4}
Get the temperature and humidity data and store it in a TempAndHumidity class called newValues.
1flag:TempAndHumidity newValues = dht.getTempAndHumidity();//Get the Temperature and humidity
Reference
- class DHTesp
Make sure that the library and header files are added before using the object every time.
setup(Pin, DHTesp::DHTxx): Select the type of DHTxx and associate Pin with the DHTesp class.
Parameter 1: the pin to be associated.
Parameter 2: select the type of sensor, DHT11 or DHT12.
getTempAndHumidity(): Obtain temperature and humidity data. The received data must be stored in the ‘TempAndHumidity’ class.
getStatus(): To judge whether the obtained data format is normal, the return value of 0 means the data is normal, and the return value of non-0 means the data is abnormal or the data fails to be obtained.
Project 24.2 Hygrothermograph
In this project, we use L2C-LCD1602 to display data collected by DHT11.
Component List
ESP8266 x1
|
USB cable |
Breadboard x1
|
|
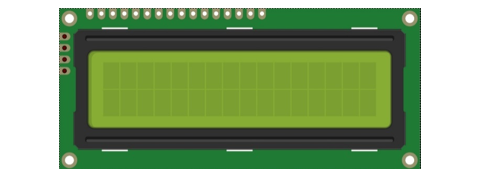
LCD1602 Module x1
|
Resistor 10kΩ x1 |
Jumper wire F/M x4 Jumper wire M/M x8
|
DHT11 x1 |
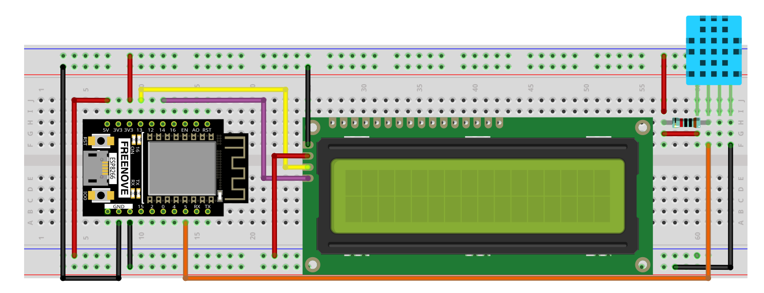
Circuit
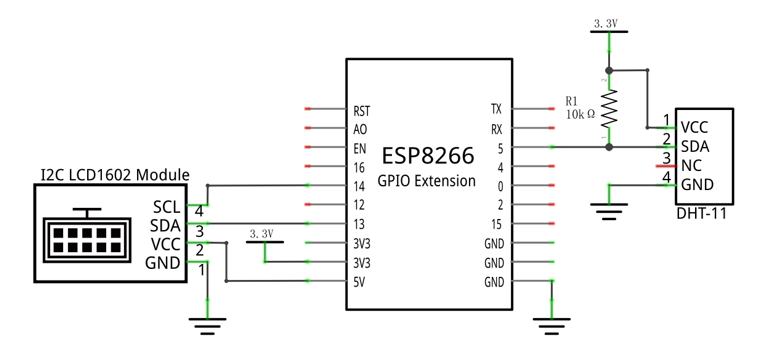
Schematic diagram |
|
Hardware connection. If you need any support, please feel free to contact us via: support@freenove.com |
|
Sketch
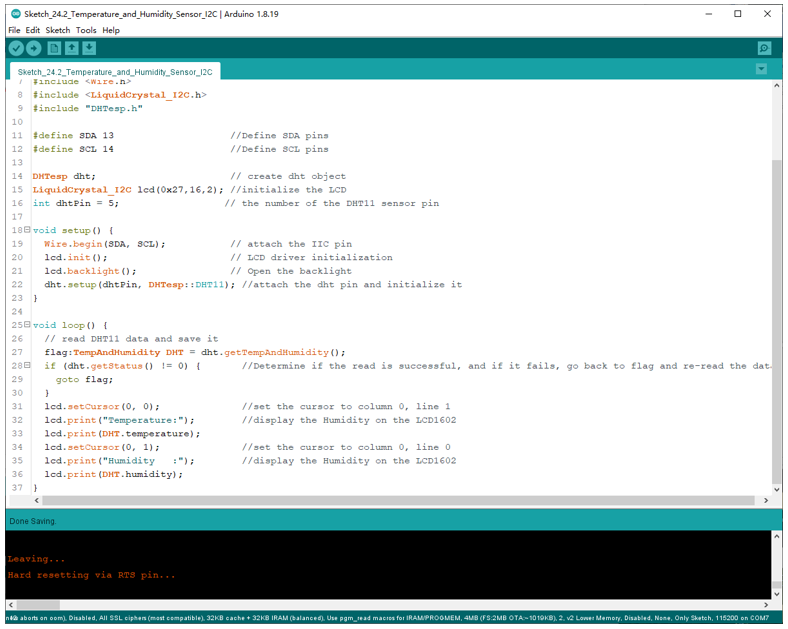
This code uses the DHTesp and LiquidCrystal_I2C libraries, so make sure the relevant library files are added before writing the program.
Sketch_24.1_Temperature_and_Humidity_Sensor
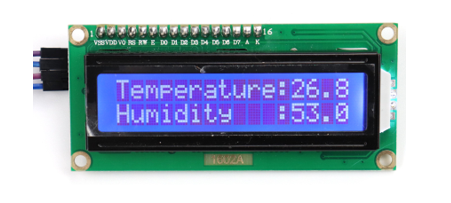
Download the code to ESP8266. The first line of LCD1602 shows the temperature value, and the second line shows the humidity value. Try to “pinch” the thermistor (without touching the leads) with your index finger and thumb for a brief time to observe the change in the LCD display value.
The following is the program code:
 1/**********************************************************************
 2  Filename    : Temperature and Humidity Sensor
 3  Description : Use DHT11 to measure temperature and humidity.Print the result to the LCD1602.
 4  Auther      : www.freenove.com
 5  Modification: 2020/07/11
 6**********************************************************************/
 7#include <Wire.h>
 8#include <LiquidCrystal_I2C.h>
 9#include "DHTesp.h"
10
11#define SDA 13                    //Define SDA pins
12#define SCL 14                    //Define SCL pins
13
14DHTesp dht;                       // create dht object
15LiquidCrystal_I2C lcd(0x27,16,2); //initialize the LCD
16int dhtPin = 5;                  // the number of the DHT11 sensor pin
17
18void setup() {
19  Wire.begin(SDA, SCL);           // attach the IIC pin
20  if (!i2CAddrTest(0x27)) {
21    lcd = LiquidCrystal_I2C(0x3F, 16, 2);
22  }
23  lcd.init();                     // LCD driver initialization
24  lcd.backlight();                // Open the backlight
25  dht.setup(dhtPin, DHTesp::DHT11); //attach the dht pin and initialize it
26}
27
28void loop() {
29  // read DHT11 data and save it
30  flag:TempAndHumidity DHT = dht.getTempAndHumidity();
31  if (dht.getStatus() != 0) {       //Determine if the read is successful, and if it fails, go back to flag and re-read the data
32    goto flag;
33  }
34  lcd.setCursor(0, 0);              //set the cursor to column 0, line 1
35  lcd.print("Temperature:");        //display the Humidity on the LCD1602
36  lcd.print(DHT.temperature);
37  lcd.setCursor(0, 1);              //set the cursor to column 0, line 0
38  lcd.print("Humidity   :");        //display the Humidity on the LCD1602
39  lcd.print(DHT.humidity);
40  delay(2000);
41}
42
43bool i2CAddrTest(uint8_t addr) {
44  Wire.begin();
45  Wire.beginTransmission(addr);
46  if (Wire.endTransmission() == 0) {
47    return true;
48  }
49  return false;
50}
First, add the library function header file.
1#include <Wire.h>
2#include <LiquidCrystal_I2C.h>
3#include "DHTesp.h"
Second, initialize the pins associated with the DHT11 sensor and I2C-LCD1602.
 1DHTesp dht;                       // create dht object
 2LiquidCrystal_I2C lcd(0x27,16,2); //initialize the LCD
 3int dhtPin = 5;                  // the number of the DHT11 sensor pin
 4
 5void setup() {
 6  Wire.begin(SDA, SCL);           // attach the IIC pin
 7  if (!i2CAddrTest(0x27)) {
 8    lcd = LiquidCrystal_I2C(0x3F, 16, 2);
 9  }
10  lcd.init();                     // LCD driver initialization
11  lcd.backlight();                // Open the backlight
12  dht.setup(dhtPin, DHTesp::DHT11); //attach the dht pin and initialize it
13}
Finally, the data of temperature and humidity sensor are obtained and displayed on LCD1602. The first row shows the temperature and the second shows the humidity.
 1flag:TempAndHumidity DHT = dht.getTempAndHumidity();
 2if (dht.getStatus() != 0) {       //Determine if the read is successful, and if it fails, go back to flag and re-read the data
 3  goto flag;
 4}
 5lcd.setCursor(0, 0);              //set the cursor to column 0, line 1
 6lcd.print("Temperature:");        //display the Humidity on the LCD1602
 7lcd.print(DHT.temperature);
 8lcd.setCursor(0, 1);              //set the cursor to column 0, line 0
 9lcd.print("Humidity   :");        //display the Humidity on the LCD1602
10lcd.print(DHT.humidity);