Chapter 25 Infrared Motion Sensor
In this chapter, we will learn a widely used sensor, infrared motion sensor.
Project Infrared Motion Detector with LED Indicator
In this project, we will make a motion detector, with the human body infrared pyroelectric sensors.
When someone is in close proximity to the motion detector, it will automatically light up and when there is no one close by, it will be out.
This infrared motion sensor can detect the infrared spectrum (heat signatures) emitted by living humans and animals.
Component List
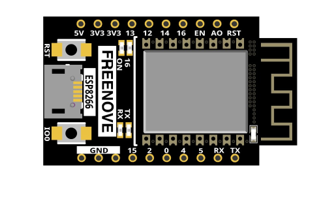
ESP8266 x1
|
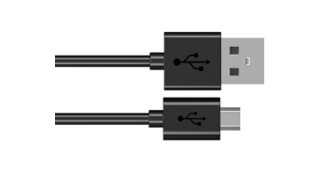
USB cable |
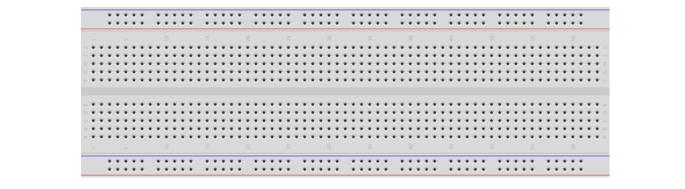
Breadboard x1
|
|
HC SR501 x1
|
LED x1 |
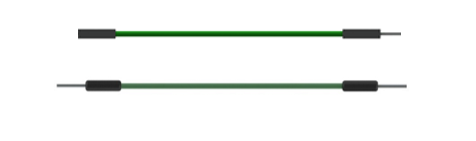
Jumper wire F/M x3 Jumper wire M/M x4
|
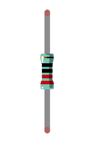
Resistor 220Ω x1 |

Component knowledge
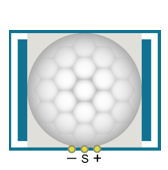
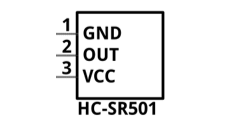
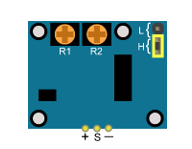
The following is the diagram of the infrared Motion sensor(HC SR-501):
Top |
Bottom |
Schematic |
|
|
|

Description:
Working voltage: 5v-20v(DC) Static current: 65uA.
Automatic Trigger. When a living body enters into the active area of sensor, the module will output high level (3.3V). When the body leaves the sensor’s active detection area, it will output high level lasting for time period T, then output low level(0V). Delay time T can be adjusted by the potentiometer R1.
According to the position of jumper cap, you can choose non-repeatable trigger mode or repeatable mode.
L: non-repeatable trigger mode. The module output high level after sensing a body, then when the delay time is over, the module will output low level. During high level time, the sensor no longer actively senses bodies.
H: repeatable trigger mode. The distinction from the L mode is that it can sense a body until that body leaves during the period of high level output. After this, it starts to time and output low level after delaying T time.
Induction block time: the induction will stay in block condition and does not induce external signal at lesser time intervals (less than delay time) after outputting high level or low level
Initialization time: the module needs about 1 minute to initialize after being powered ON. During this period, it will alternately output high or low level.
One characteristic of this sensor is when a body moves close to or moves away from the sensor’s dome edge, the sensor will work at high sensitivity. When a body moves close to or moves away from the sensor’s dome in a vertical direction, the sensor cannot detect well (please take note of this deficiency). Note: The sensing range (distance before a body is detected) is adjusted by the potentiometer.
We can regard this sensor as a simple inductive switch when in use.
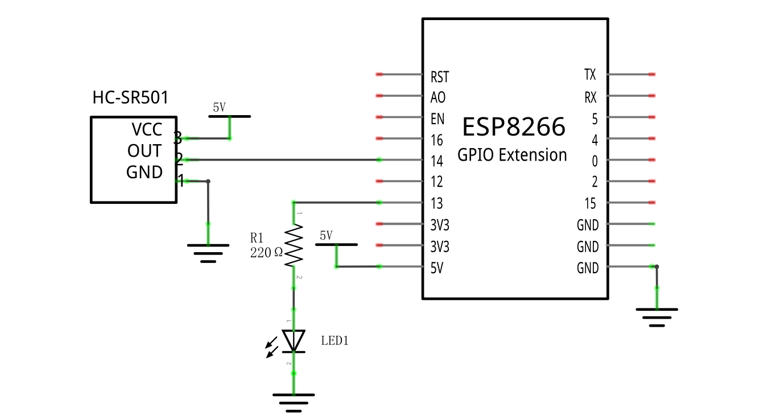
Circuit
Schematic diagram |
|
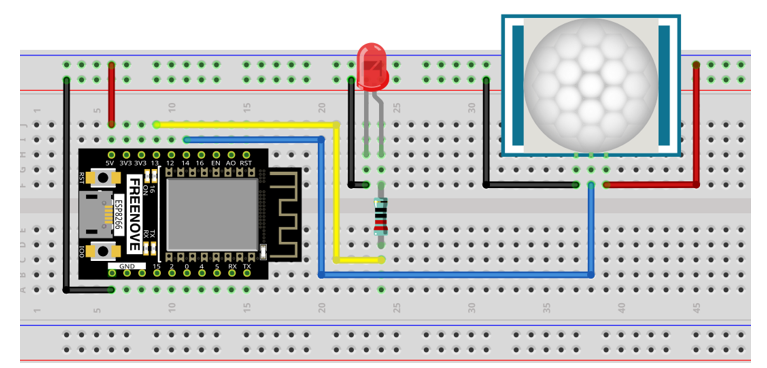
Hardware connection. If you need any support, please feel free to contact us via: support@freenove.com |
|
Code
In this project, we will use an infrared motion sensor to trigger an LED, essentially using the infrared motion sensor as a motion switch. So the code of this project is similar to that of project “Button & Led”. The difference is when infrared motion sensor detects changes, it will out high level; when it detects nothing, it will output low level. When the sensor outputs high level, LED turns ON; Otherwise, LED turns OFF.
Move the program folder “Freenove_Ultimate_Starter_Kit_for_ESP8266/Python/Python_Codes” to disk(D) in advance with the path of “D:/Micropython_Codes”.
Open “Thonny”, click “This computer” -> “D:” -> “Micropython_Codes” -> “Infrared_Motion_Detector” and then double click”Infrared_Motion_Detector.py”.
25.1_Infrared_Motion_Detector
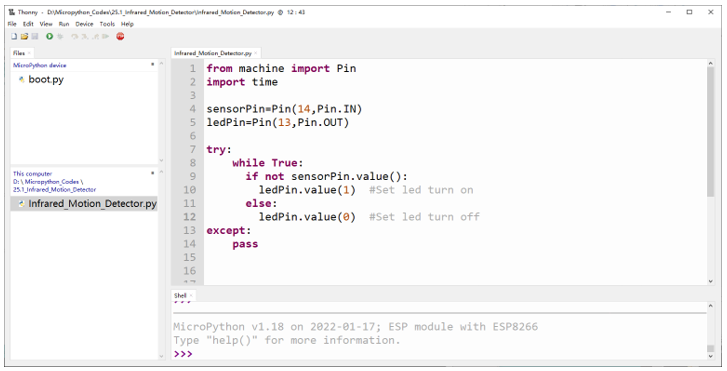
Click “Run current script”. Put the sensor on a stationary table and wait for about a minute. Then try to move away from or move closer to the Infrared Motion Sensor and observe whether the LED turns ON or OFF automatically.
You can rotate the potentiometer on the sensor to adjust the detection effect, or use different modes by changing the jumper.
Apart from that, you can also use this sensor to control some other modules to implement different functions by reediting the code, such as the induction lamp, induction door.
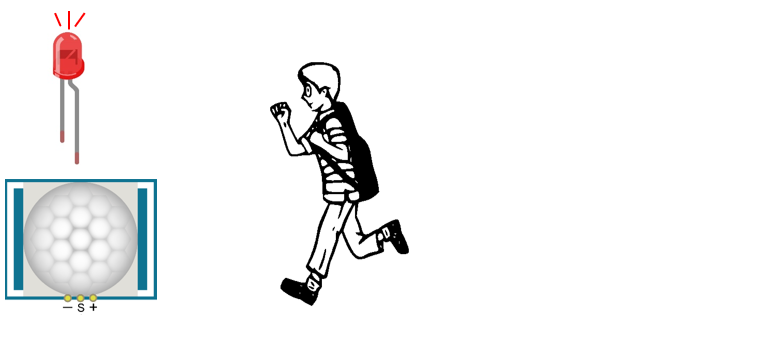
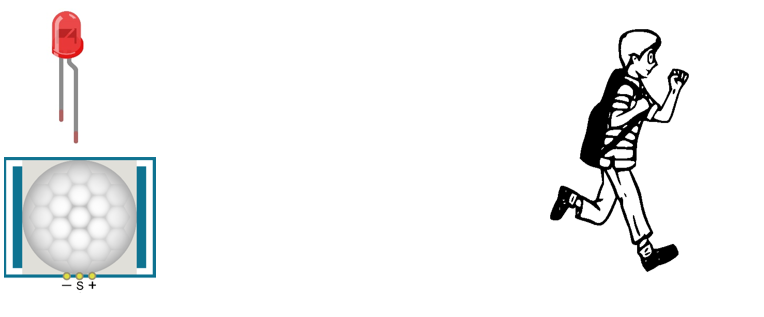
Move to the Infrared Motion Sensor |
|
Move to the Infrared Motion Sensor |
|
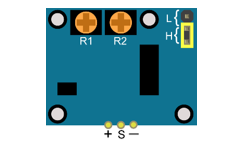
Description:
You can choose non repeatable trigger modes or repeatable modes.
L: nonrepeatable trigger mode. The module output high level after sensing a body, then when the
delay time is over, the module will output low level. During high level time, the sensor no longer actively
senses bodies.
H: repeatable trigger mode. The distinction from the L mode is that it can sense a body until that body
leaves. After this, it starts to time and output low level after delaying T time.
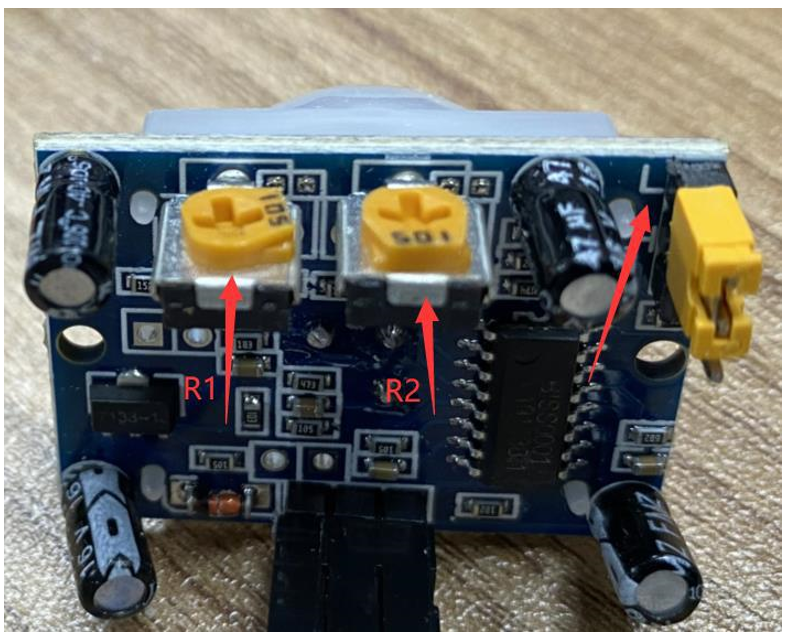
R1 is used to adjust HIGH level last ing time when sensor detect s human motion , 1.2 s 320 s
R 2 is used to adjust the maxmum distance the sensor can detect, 3~5m.
Here we connect L and adjust R1 and R2 like below to do this project.
Put you hand close and away from the sensor slowly. Obsever the LED in previous circuit.
It need some time between two detections.