Chapter 14 LVGL Picture
Project 14.1 LVGL Picture
Component List
Freenove ESP32 Display x 1
|
USB cable x1
|
Stylus x 1
|
|


Circuit
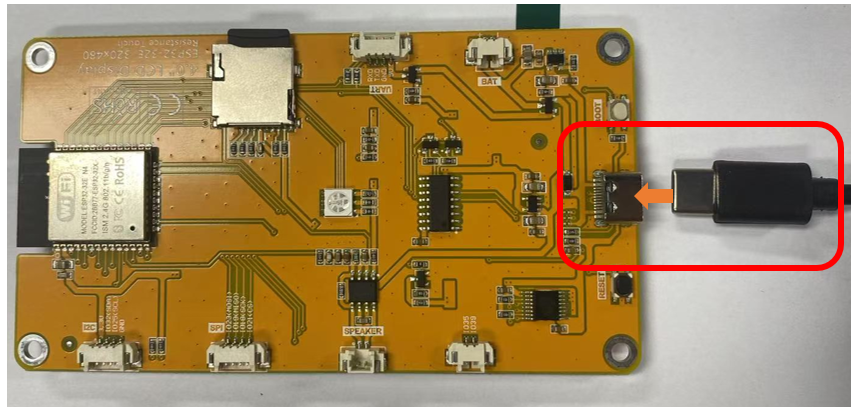
Before connecting the USB cable, insert the SD card into the SD card slot on the back of the Freenove ESP32 Display.
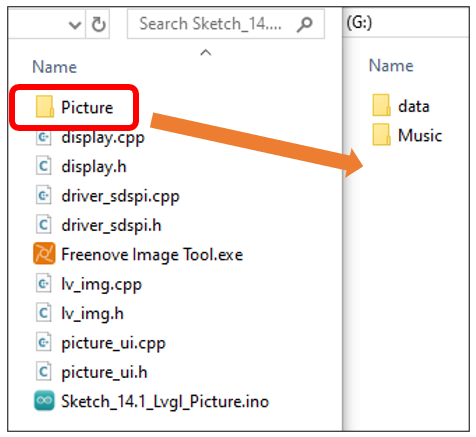
Connect Freenove Freenove ESP32 Display to the computer using the USB cable.
Sketch
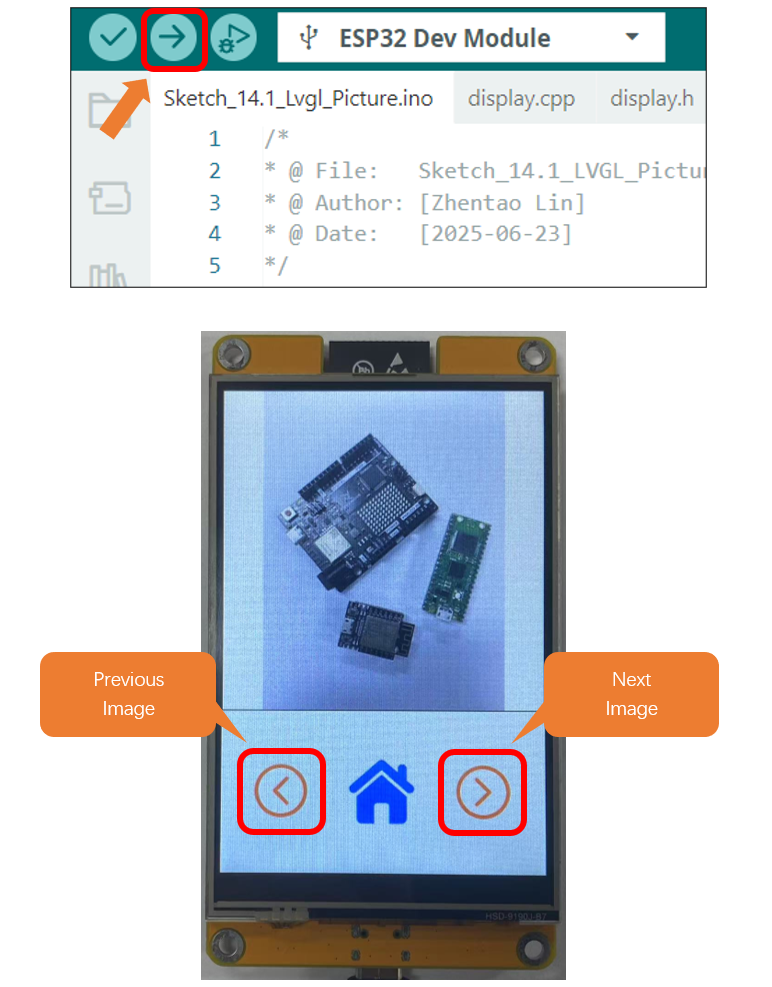
Open “Sketch_14.1_Lvgl_Picture” folder under “Freenove_ESP32_Display\Sketch” and double-click “Sketch_14.1_Lvgl_Picture.ino”.
Sketch_14.1_Lvgl_Picture
The following is the program code:
 1/*
 2* @ File:   Sketch_14.1_LVGL_Picture.ino
 3* @ Author: [Zhentao Lin]
 4* @ Date:   [2025-06-23]
 5*/
 6
 7#include "display.h"
 8#include "driver_sdspi.h"
 9#include "picture_ui.h"
10
11Display screen;
12
13#define SD_SCK   18
14#define SD_MISO  19
15#define SD_MOSI  23
16#define SD_CS    5
17
18void setup(){
19    /* prepare for possible serial debug */
20    Serial.begin( 115200 );
21
22   /*** Init drivers ***/
23    sdspi_init(SD_SCK, SD_MISO, SD_MOSI, SD_CS);       //Initialize the SD module
24    screen.init();
25
26    String LVGL_Arduino = "Hello Arduino! ";
27    LVGL_Arduino += String('V') + lv_version_major() + "." + lv_version_minor() + "." + lv_version_patch();
28    Serial.println( LVGL_Arduino );
29    Serial.println( "I am LVGL_Arduino" );
30
31    setup_scr_picture(&guider_picture_ui);
32    lv_scr_load(guider_picture_ui.picture);
33
34    Serial.println( "Setup done" );
35}
36
37void loop(){
38    screen.routine(); /* let the GUI do its work */
39    delay( 5 );
40}
Code Explanation
Include the header files.
1#include "display.h"
2#include "driver_sdspi.h"
3#include "picture_ui.h"
Define the pins.
1#define SD_SCK   18
2#define SD_MISO  19
3#define SD_MOSI  23
4#define SD_CS    5
Set the baud rate to 115200
1Serial.begin( 115200 );
Initialize configuration.
1sdspi_init(SD_SCK, SD_MISO, SD_MOSI, SD_CS);       //Initialize the SD module
2screen.init();
Create and load the interface.
1setup_scr_picture(&guider_picture_ui);
2lv_scr_load(guider_picture_ui.picture);
LVGL Task Processor
1screen.routine(); /* let the GUI do its work */
Copy the Picture folder under the Freenove_ESP32_Display\Sketch\Sketch_14.1_Lvgl_Picture directory to the SD card root directory.
Click “Upload” to upload the code to Freenove ESP32 Display. Set the baud rate to 115200
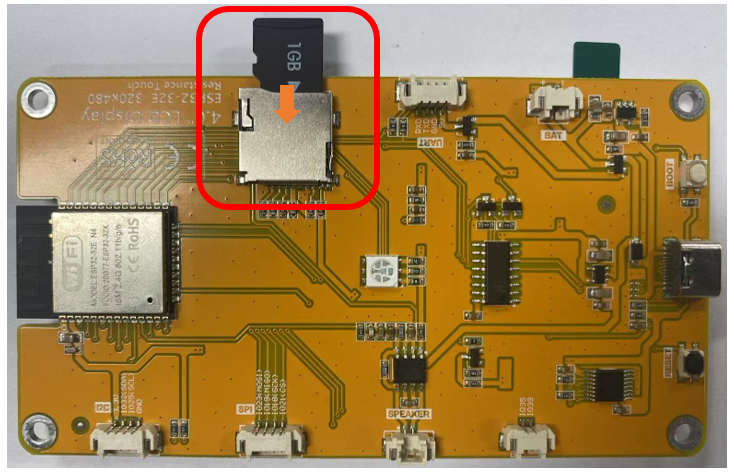
Custom image display
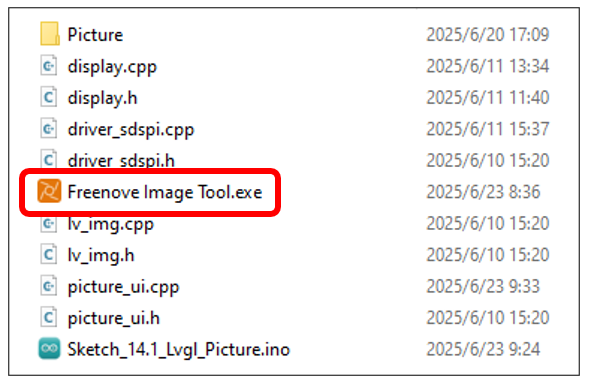
You can customize the image displayed on the display according to your personal preferences.
First, open Freenove_ESP32_Display\Sketch\Sketch_14.1_Lvgl_Picture\Freenove Image Tool.exe.
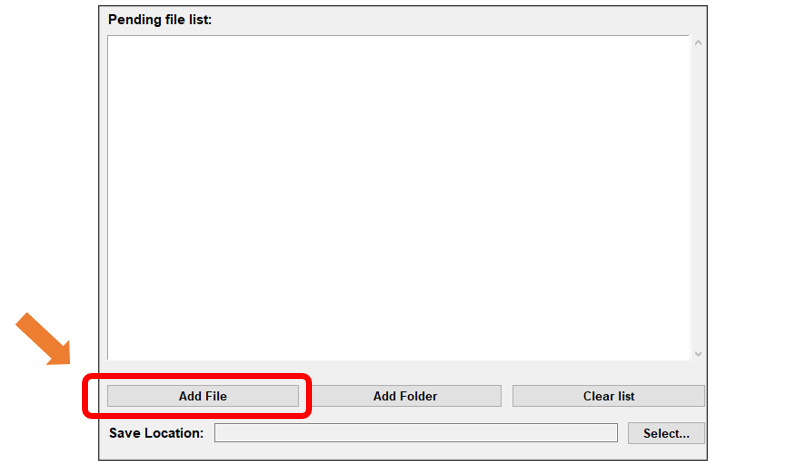
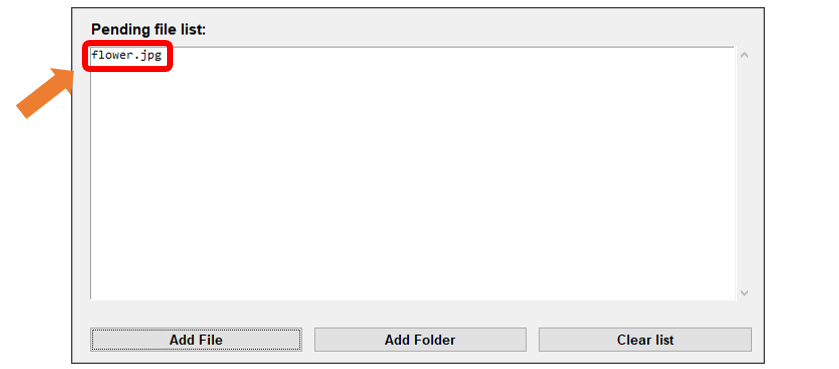
Click “Add File”
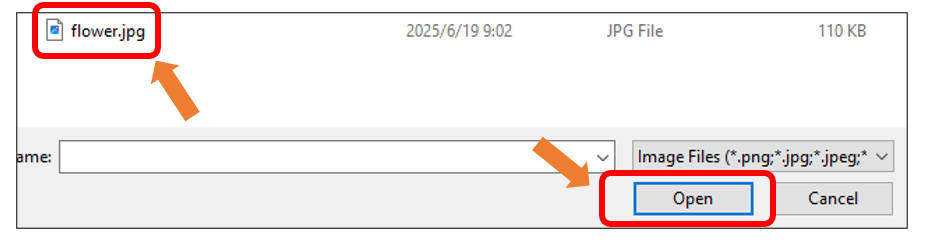
Select any image you like.
The image files from your folder will now appear in the Pending File List.
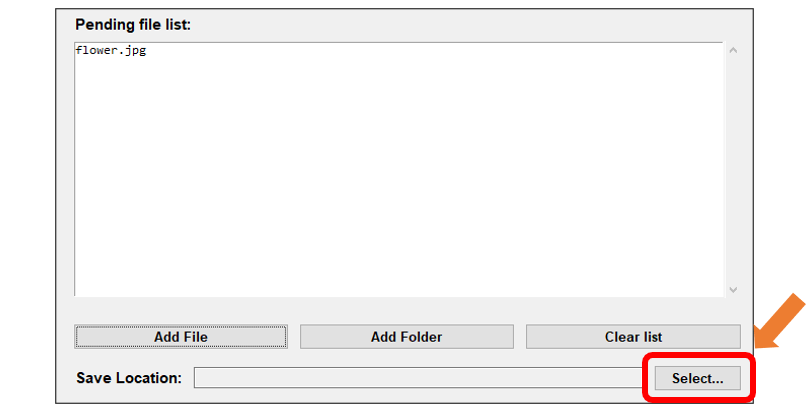
Click “Select…” to choose the image saving location.
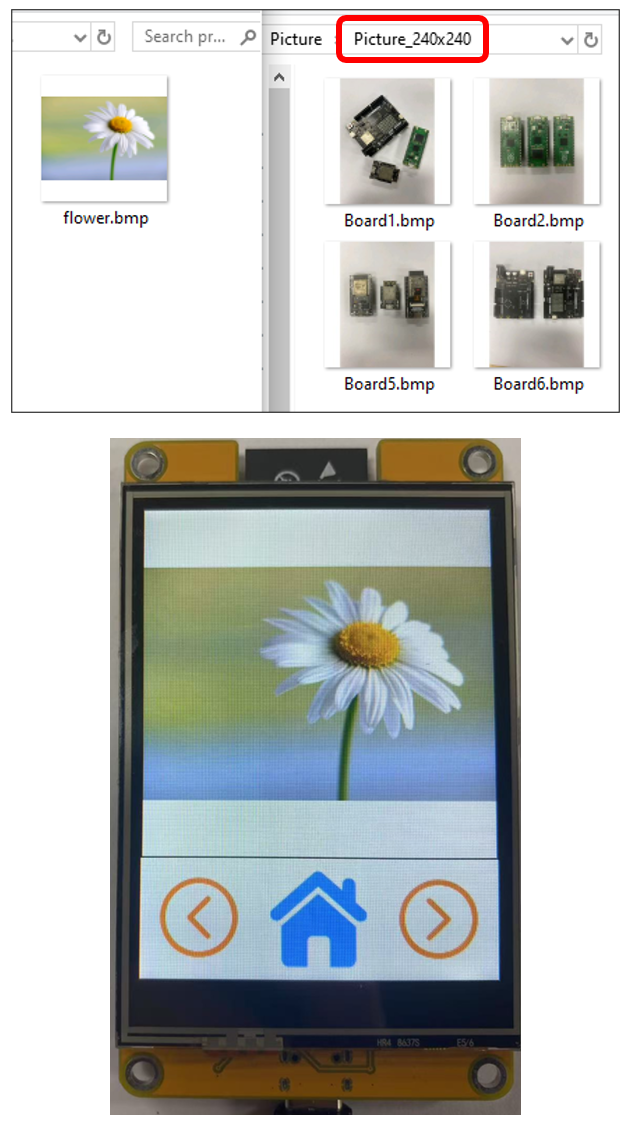
Select BMP for the format, set the resolution to 240x240 or 320x320 based on your screen, and then click Start Processing.
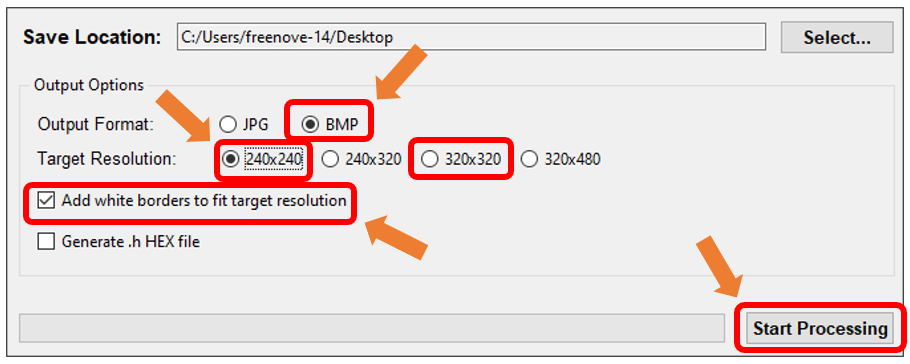
Wait for the progress bar to complete.
Copy or replace the generated image to the folder corresponding to the Picture folder in the root directory of the SD card.
If the screen resolution is 240x320, put the image in Picture_240x240
If the screen resolution is 320x480, put the image in Picture_320x320