Chapter 2 Flowing Light
We have learned how to control one LED to blink. Next, we will learn how to control a number of LEDs.
Project Flowing Water Light
In this project, we use a number of LEDs to make a flowing water light.
Component List
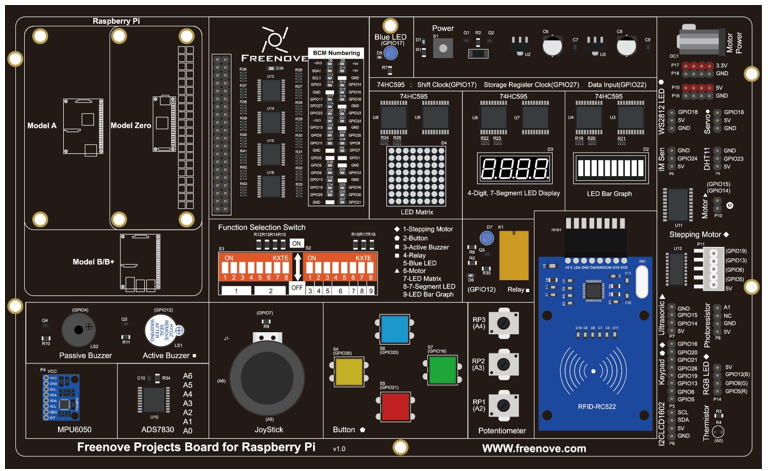
Freenove Projects Board for Raspberry Pi |
|
Raspberry Pi |
GPIO Ribbon Cable |


Circuit
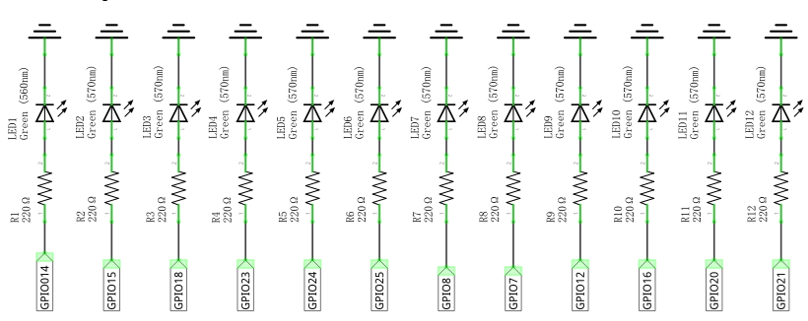
Schematic diagram |
|
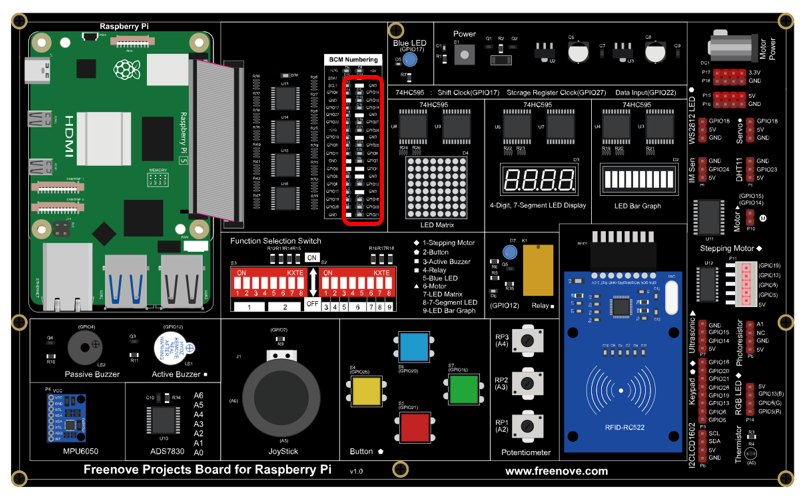
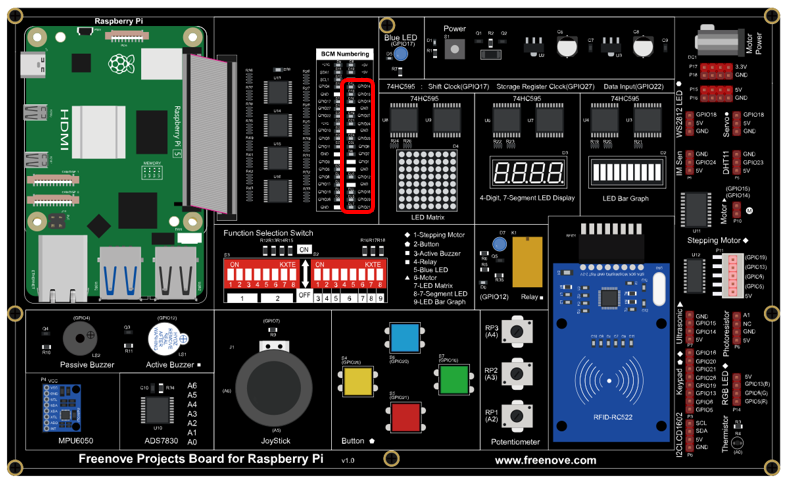
Hardware connection: |
|
Note
If you have any concerns, please send an email to: support@freenove.com
Sketch
In this chapter, we will introduce how to control multiple LEDs with various GPIOs, and make the LEDs present a flowing effect.
Sketch_02_FlowingLight
First, enter where the project is located:
$ cd ~/Freenove_Kit/Pi4j/Sketches/Sketch_02_FlowingLight

Enter the command to run the code.
$ jbang FlowingLight.java

When the code is running, you can see the onboard indicators lights up in a flowing effect.
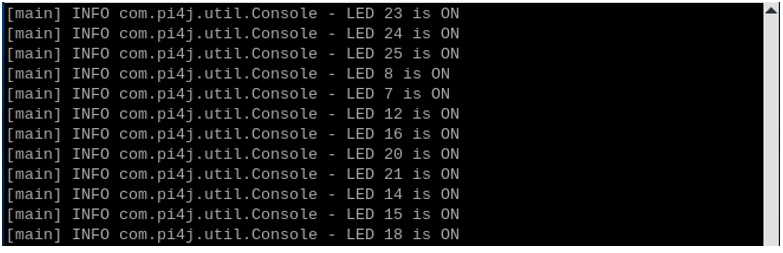
On the Raspberry Pi Terminal, you can see messages printed.
Press CTRL+C to exit the code.
You can view and edit the code with Geany by running the following command.
$ geany FlowingLight.java
Click the icon to run the code.
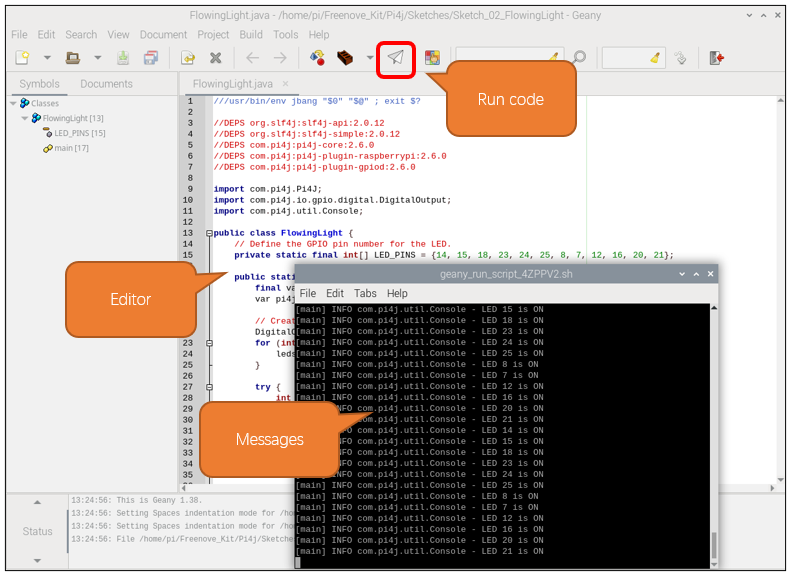
If the code fails to run, please check Geany Configuration.
The following is program code:
 1///usr/bin/env jbang "$0" "$@" ; exit $?
 2
 3//DEPS org.slf4j:slf4j-api:2.0.12
 4//DEPS org.slf4j:slf4j-simple:2.0.12
 5//DEPS com.pi4j:pi4j-core:2.6.0
 6//DEPS com.pi4j:pi4j-plugin-raspberrypi:2.6.0
 7//DEPS com.pi4j:pi4j-plugin-gpiod:2.6.0
 8
 9import com.pi4j.Pi4J;
10import com.pi4j.io.gpio.digital.DigitalOutput;
11import com.pi4j.util.Console;
12
13public class FlowingLight {
14    // Define the GPIO pin number for the LED.
15    private static final int[] LED_PINS = {14, 15, 18, 23, 24, 25, 8, 7, 12, 16, 20, 21};
16
17    public static void main(String[] args) throws Exception {
18        final var console = new Console();
19        var pi4j = Pi4J.newAutoContext();
20
21        DigitalOutput[] leds = new DigitalOutput[LED_PINS.length];
22        for (int i = 0; i < LED_PINS.length; i++) {
23            leds[i] = pi4j.dout().create(LED_PINS[i]);
24        }
25
26        try {
27            int currentLed = 0;
28            while (true) {
29                console.println("LED " + LED_PINS[currentLed] + " is ON");
30                for (DigitalOutput led : leds) {
31                    led.low();
32                }
33                leds[currentLed].high();
34                Thread.sleep(100);
35                currentLed = (currentLed + 1) % LED_PINS.length;
36            }
37        } finally {
38            pi4j.shutdown();
39        }
40    }
41}
Import the classes of Pi4J library for GPIO control and simple console output.
1import com.pi4j.Pi4J;
2import com.pi4j.io.gpio.digital.DigitalOutput;
3import com.pi4j.util.Console;
Define an array that includes the GPIO numbers connecting to LEDs.
1// Define the GPIO pin number for the LED.
2private static final int[] LED_PINS = {14, 15, 18, 23, 24, 25, 8, 7, 12, 16, 20, 21};
Create a DigitalOutput array based on the GPIO array that controls the LEDs, and create a DigitalOutput instance for each pin.
1DigitalOutput[] leds = new DigitalOutput[LED_PINS.length];
2for (int i = 0; i < LED_PINS.length; i++) {
3    leds[i] = pi4j.dout().create(LED_PINS[i]);
4}
Iterate through all LEDs and turn them off (set to low level).
1for (DigitalOutput led : leds) {
2    led.low();
3}
Use ‘currentLed’ to record the position of the LED that is lit, recalculate the position of the lit LED every 100 milliseconds, and print a prompt message to the console. At the same time, turn off all LEDs except the LED at the position recorded by ‘currentLed’.
 1int currentLed = 0;
 2while (true) {
 3    console.println("LED " + LED_PINS[currentLed] + " is ON");
 4    for (DigitalOutput led : leds) {
 5        led.low();
 6    }
 7    leds[currentLed].high();
 8    Thread.sleep(100);
 9    currentLed = (currentLed + 1) % LED_PINS.length;
10}