Chapter 3 Buttons & LEDs
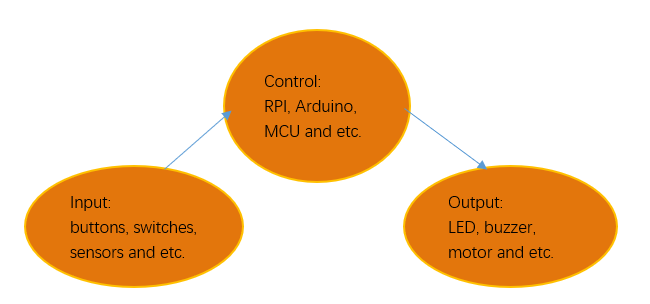
Usually, there are three essential parts in a complete automatic control device: INPUT, OUTPUT, and CONTROL. In last section, the LED module was the output part and RPI was the control part. In practical applications, we not only make LEDs flash, but also make a device sense the surrounding environment, receive instructions and then take the appropriate action such as turn on LEDs, make a buzzer beep and so on.
Next, we will build a simple control system to control an LED through a push button switch.
Project 3.1 Push Button Switch & LED
In the project, we will control the LED state through a Push Button Switch. When the button is pressed, our LED will turn ON, and when it is released, the LED will turn OFF. This describes a Momentary Switch.
Component knowledge
Push Button Switch
This type of Push Button Switch has 4 pins (2 Pole Switch). Two pins on the left are connected, and both left and right sides are the same as per the illustration:
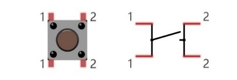
When the button on the switch is pressed, the circuit is completed (your project is Powered ON).
Component List
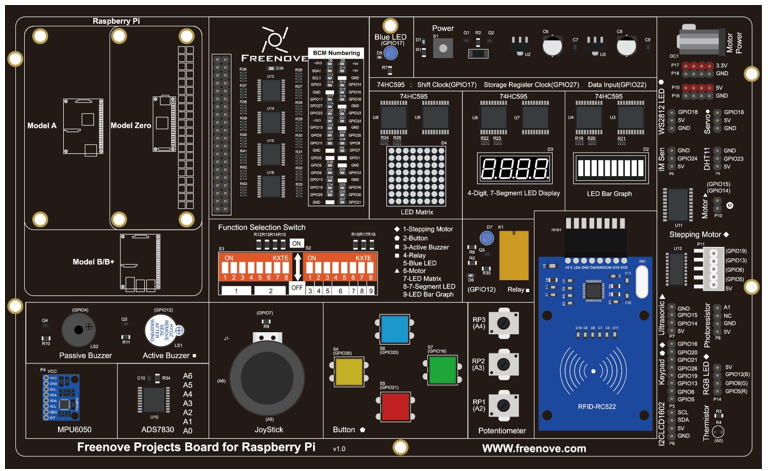
Freenove Projects Board for Raspberry Pi |
|
Raspberry Pi |
GPIO Ribbon Cable |


Circuit
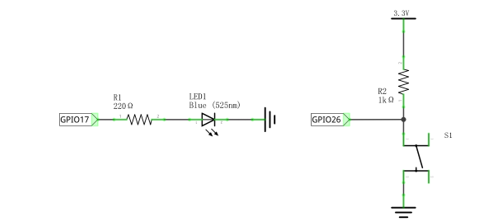
Schematic diagram |
|
Hardware connection: |
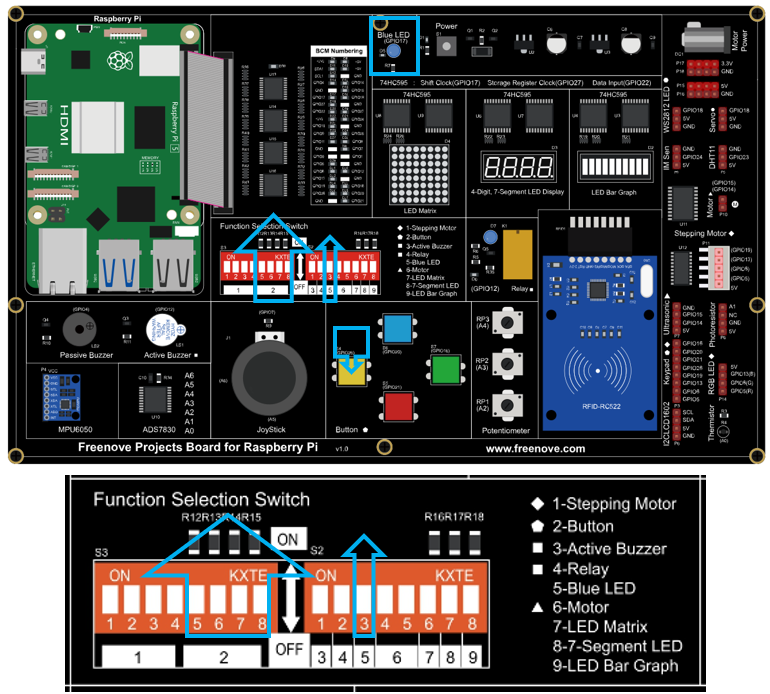
Switch ON NO.5 switch and the four switches of NO.2.
|
Note
If you have any concerns, please send an email to: support@freenove.com
Code
This project is designed for learning how to use Push Button Switch to control an LED. We first need to read the state of switch, and then determine whether to turn the LED ON in accordance to the state of the switch.